Nucleic acid electrophoresis is a common laboratory technique that separates nucleic acids based on molecular size and structure through an agarose gel with the aid of an electric current.
The workflow for nucleic acid electrophoresis can differ based on the type of gel and electrophoresis apparatus. This workflow serves as a generalized example when using a hand-poured gel and electrophoresis chamber.
To begin, an electrophoresis chamber is assembled, and the running buffer added. The buffer is critical for allowing the electric current to move through the gel and stimulate the molecular migration. The agarose gel is submerged in the chamber, and the stained or unstained nucleic acid samples are loaded on the gel with a marker with bands of known sizes. Once the run is complete, bands are stained as needed, and the gel is imaged. The imaged bands are then compared to the marker to determine their relative sizes.
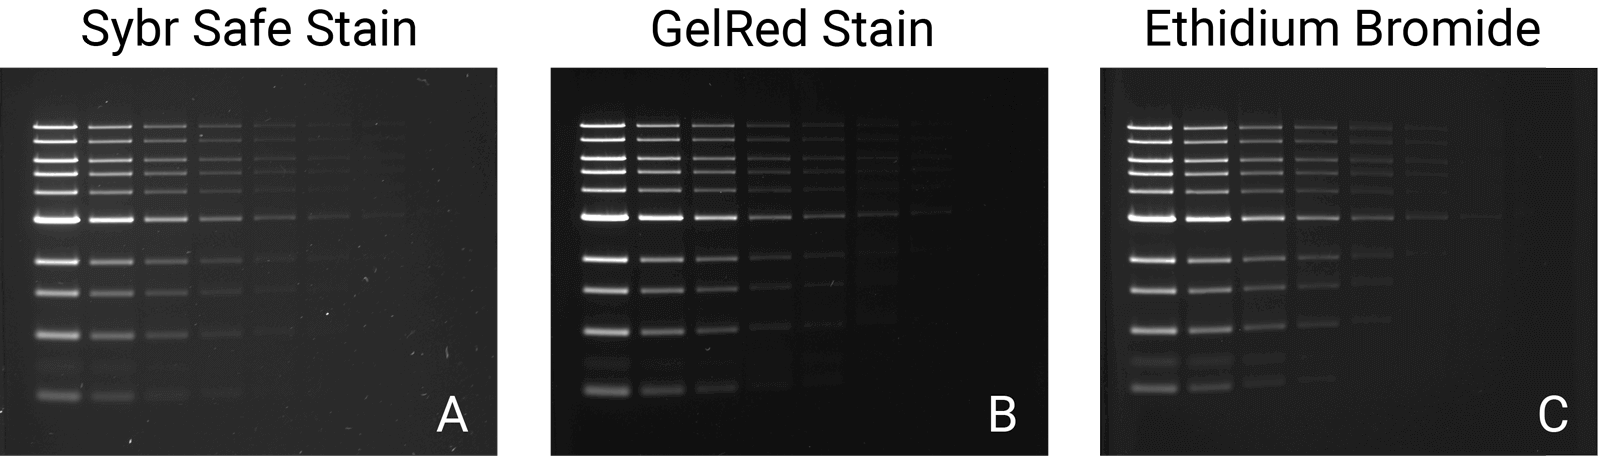
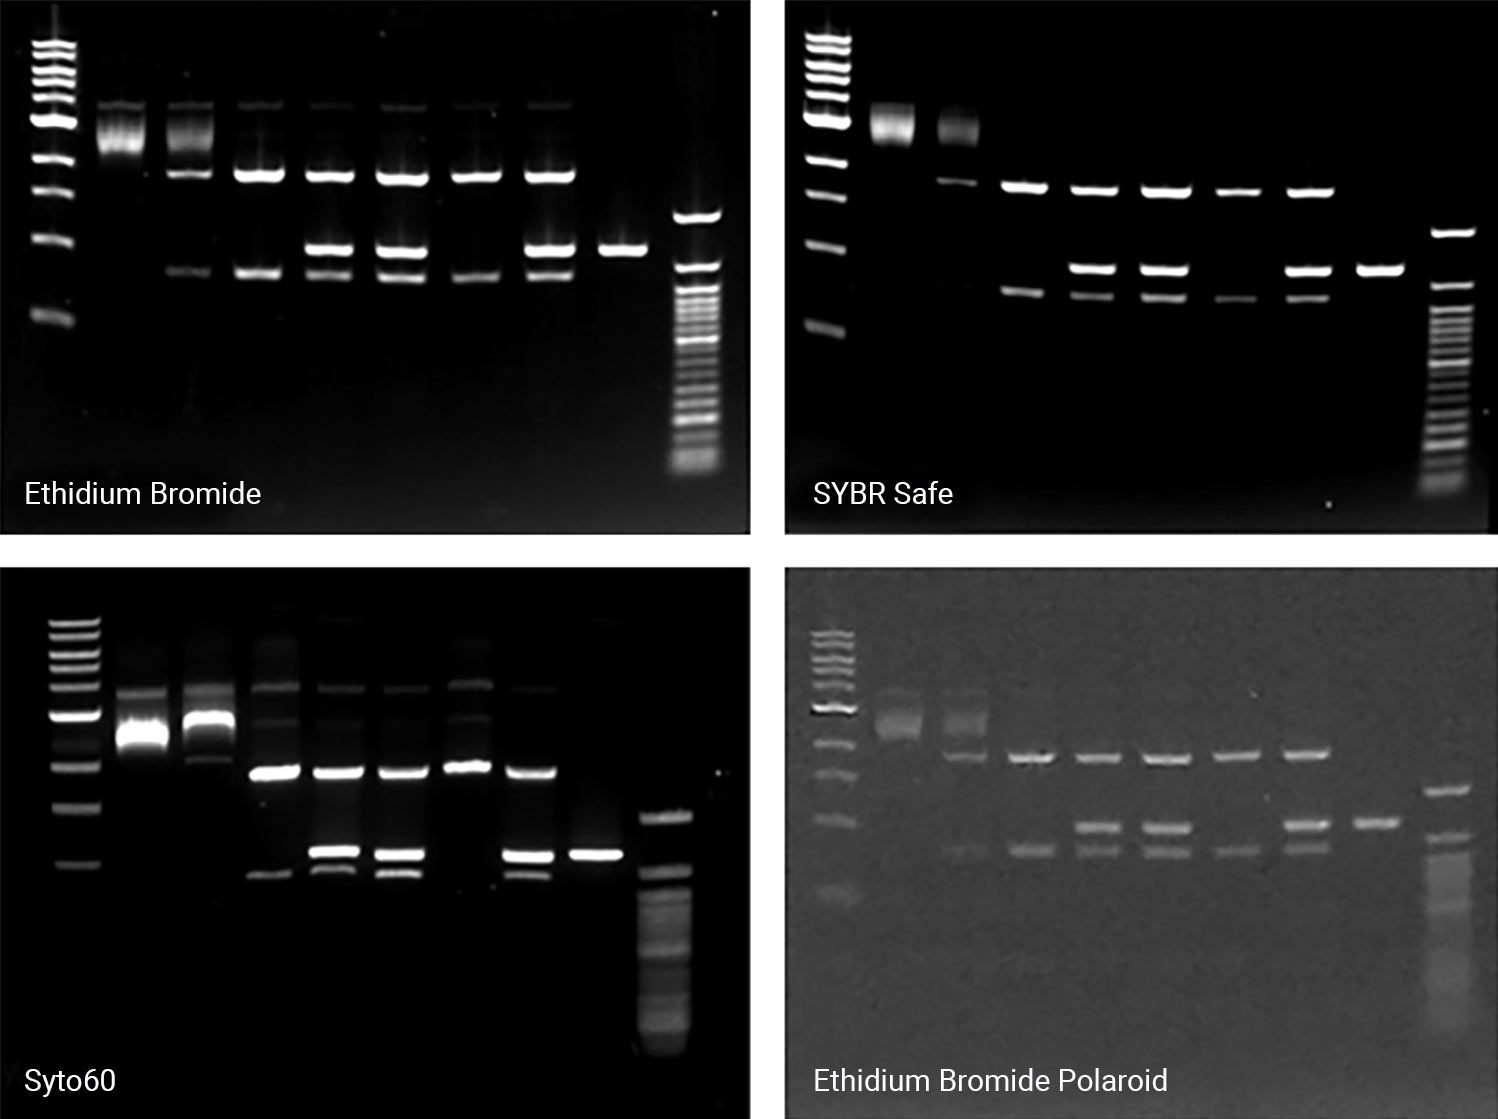
There are a wide variety of commercial stains for imaging the results of nucleic acid electrophoresis. Several common stains include Syto® 60 Nucleic Acid Stain, Ethidium Bromide (EtBr), SYBR® Safe DNA stain, and GelRed® Nucleic Acid Stain. When selecting the appropriate one for an experiment, always verify that its excitation and emission suit your needs and imager (Table 1). Always consider both the stain and imager together when making your selection, since stain selection can depend on or influence the type of imaging system used. The Odyssey® Family Imagers and the D-DiGit® Gel Scanner, for example, are designed to image specific stains.
| EtBr | SYBR Safe DNA Gel Stain | Syto 60 Nucleic Acid Stain | GelRed Nucleic Acid Stain | Pro-Q™ Diamond Phosphoprotein Gel Stain | GelGreen® Nucleic Acid Gel Stain | MIDORI Green Advance Nucleic Acid Stain | GreenView™ DNA Gel Stain | |
|---|---|---|---|---|---|---|---|---|
| Odyssey M Imager | ||||||||
| Odyssey XF Imager | ||||||||
| Odyssey Fc Imager | ||||||||
| Odyssey DLx Imager | ||||||||
| Odyssey CLx Imager | ||||||||
| D-DiGit Gel Scanner |
Nucleic acid detection involves comparing nucleic acid bands with known band markers to determine molecular sizes. The necessary detection method can be determined by the type and number of stains (Table 1).
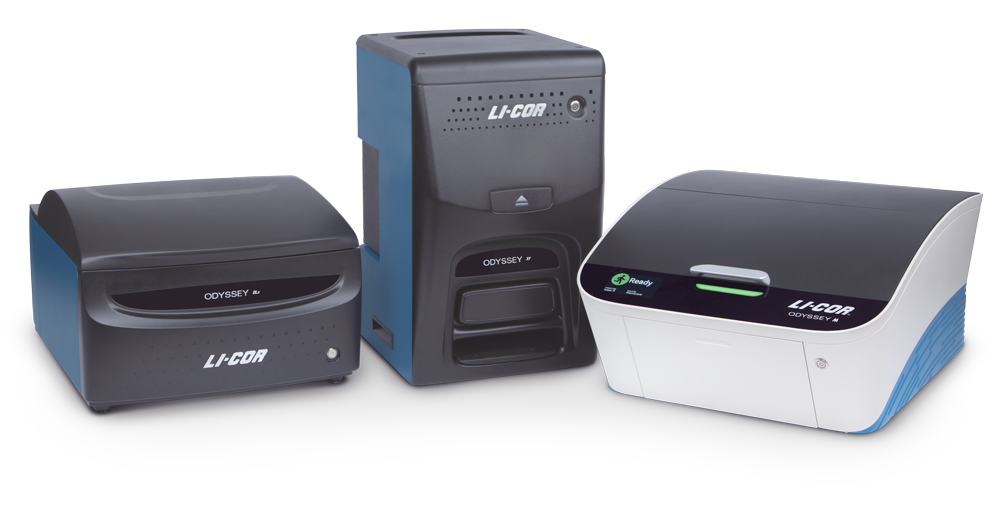
When preparing to detect or image nucleic acid gels, a key step is selecting the appropriate imager. Always consider its versatility; a suitable imager matches the fluctuation and growth of your research initiatives over time, saving costs on replacement or additional imagers. Two imagers and scanners that can image a variety of stains include the Odyssey M Imager and the D-DiGit Gel Scanner. The Odyssey M Imager quickly images commonly used stains without risk of saturation (Figure 1); it also accommodates membranes, plate-based assays, slides, and protein gels—making it a highly versatile option. In addition to imaging various stains, the D-DiGit Gel Scanner protects against potentially harmful ultraviolet light and EtBr; it also allows for DNA band extraction using a viewing shield and suits large and small gels.
A second key factor to consider when selecting an imager is its efficiency and precision. The ideal imager offers high resolution for unsaturated, high-quality images. While a broad dynamic range of six logs or more is a key feature for all Odyssey Imagers, each one offers unique benefits. The Odyssey M Imager, for instance, uses up to 5 µm resolution for precise, detailed imaging and is compatible with numerous nucleic acid stains. The Odyssey XF Imager can image membranes and gels and is compatible with several nucleic acid stains. Meanwhile, the Odyssey DLx Imager scans up to six microplates, nine mini-blots, or thirty slides simultaneously and can image Syto 60. Imagers like these should be used to capture high-resolution images without saturation and move your research forward.