Advanced operations
This section describes several operations that may simplify your use of the wireless terminal.
Selecting a data plan
The typical raw data volume when logging compressed .ghg eddy covariance files is about 1 MB per half hour, or about 1.5 GB of raw data in 30 days. See Table 6‑1 for more details.
| Sensors in System | Files to Transfer | GB per Month1 |
|---|---|---|
| Any configuration given below | Status Reports | <1 |
| EC system with sonic anemometer and CO2/H2O gas analyzer. | Raw Data | <2 |
| EC system with sonic anemometer, LI-7700, and CO2/H2O gas analyzer. | Raw Data | <2.5 |
| EC system sonic anemometer, biomet station, and CO2/H2O gas analyzer. | Raw Data | <3 |
| EC system with sonic anemometer, biomet system, LI-7700, and CO2/H2O gas analyzer. | Raw Data | <3.5 |
| LI-8100A Soil CO2 Flux System | Raw Data | <2 |
| LI-8250 with eight chambers, LI-870, and LI-7810 | Results | <0.3 |
Recommended IP addresses
We recommend the IP addresses given in Table 6‑2. You are not bound to these, but they should work when following the instructions in this manual.
Configure PC network communication
Note: This is only necessary when configuring the system. You'll do this when configuring the gateway the first time, or when connecting to it to change the configuration.
When connecting to a remote monitoring system you may need to configure your computer's network settings. The steps below describe how to do this with a Windows® 7 PC. The steps may differ for other computers and operating systems. Consult with your IT department and operating system documents for more information.
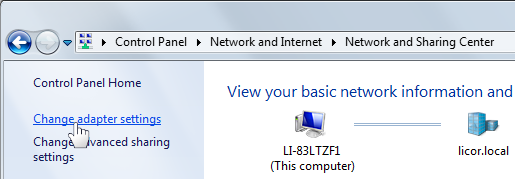
- Open the network window on your computer: Windows Start Button > Control Panel > View Network Status and Tasks > Connections.
- Click Change adapter settings.
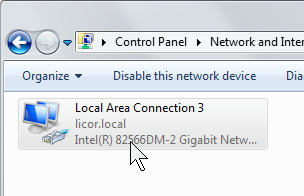
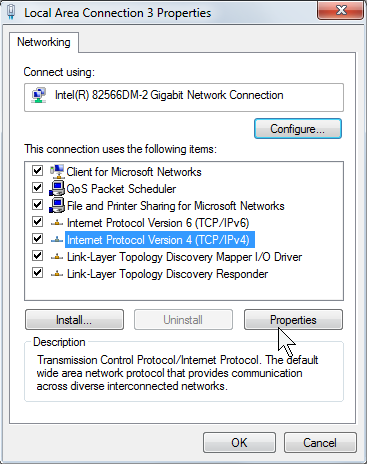
- Double-click the Internet connection to bring up the Local Area Connection Status, then click Properties.
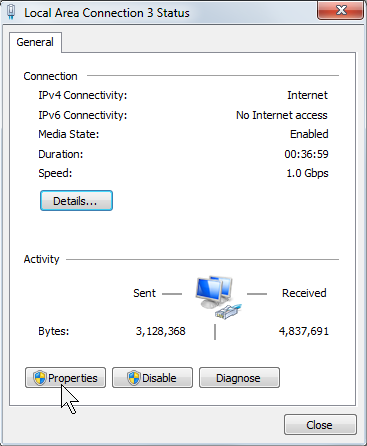
- Select Internet Protocol Version 4 (TCP/IPv4), then click Properties.
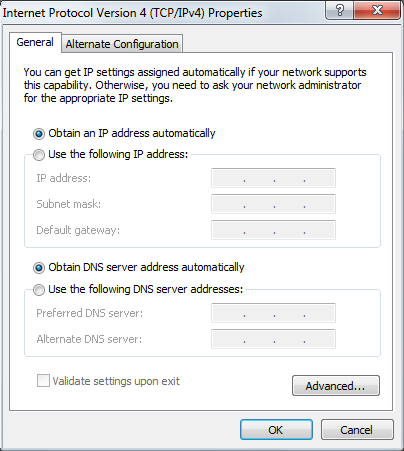
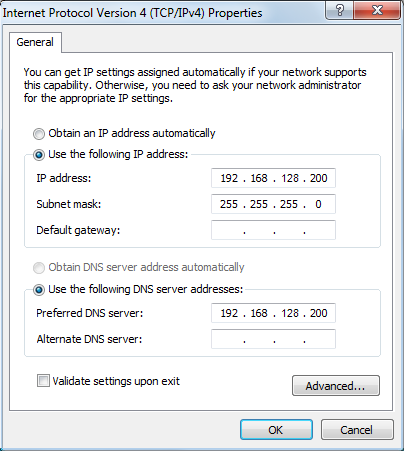
- If you need a dynamic IP address, select "Obtain an IP address automatically" and "Obtain DNS server address automatically," as shown on the left below. If you need a static IP address, select "Use the following IP address" and enter the IP address and Subnet mask as shown on the right below.
| Dynamic IP Address | Static IP Address (Recommended) |
|
|