Installing the GPS Upgrade Kit
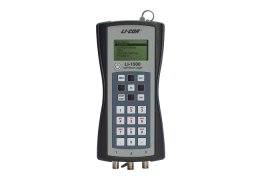
These instructions describe how to install the LI-1500 GPS Upgrade Kit (p/n 1500-GPS) in the LI-1500 Light Sensor Logger.
Note: Some instruments may have different wire colors than those shown in these instructions. This will not affect the installation.
The LI-1500 GPS Upgrade Kit includes:
- GPS board (p/n 9922-135)
- GPS flex cable (p/n 388-13760)
- Two 2-56 screws (p/n 122-10710)
- Anti-static wrist strap (p/n 619-05291)
Tool Required: # 1 Phillips head screwdriver
Time Required: About 15 minutes
Disassembly
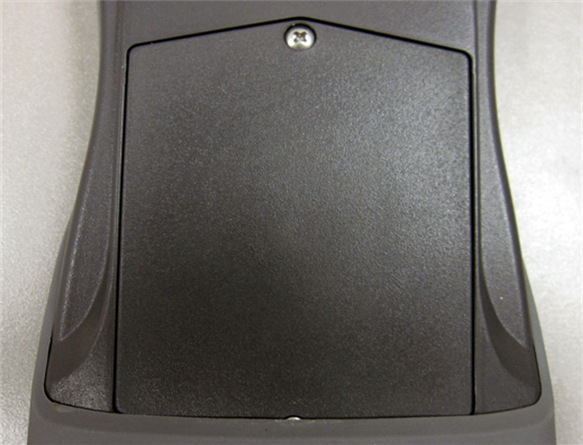
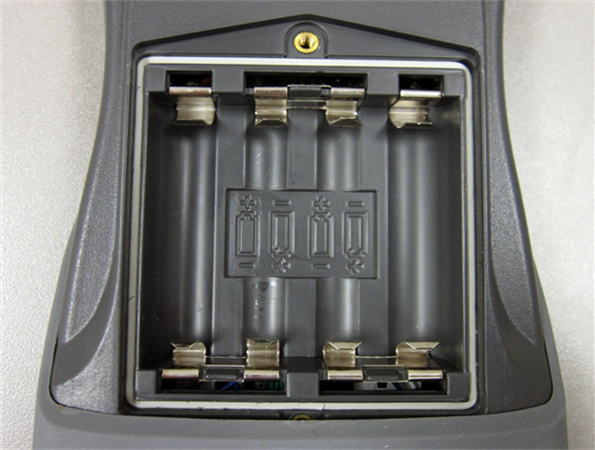
- Power off the instrument. Remove the two screws that secure the battery cover on the back of the console. Open battery cover and remove batteries, if installed.
 '
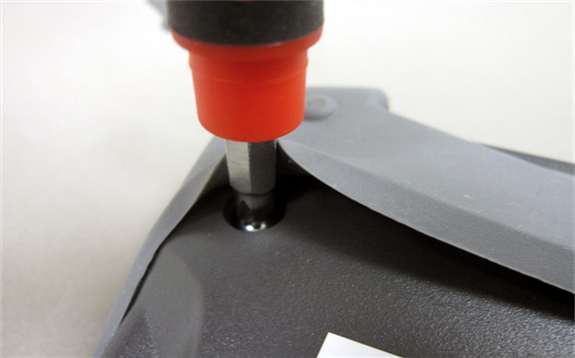
'- On the back of the console at the corners, pull back the rubber gasket and loosen the four screws that hold the top and bottom of the case together. The screws should remain captive under the gasket. Gently separate the two halves of the enclosure.
- Attach the anti-static wrist strap snugly around your wrist and attach the clip to earth ground (e.g., a computer chassis that is plugged in or other appliance chassis that is plugged in). This will help prevent damage from static electricity during installation.
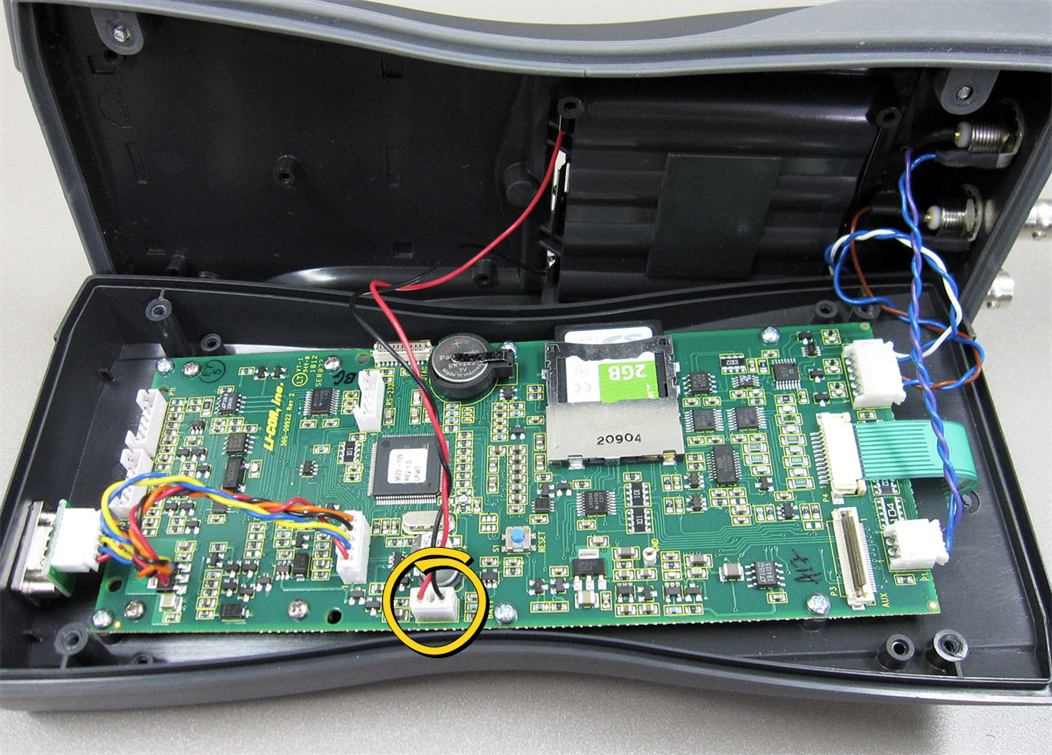
- Disconnect the power cable connector (circled below) from the main PC board.
Install GPS Board
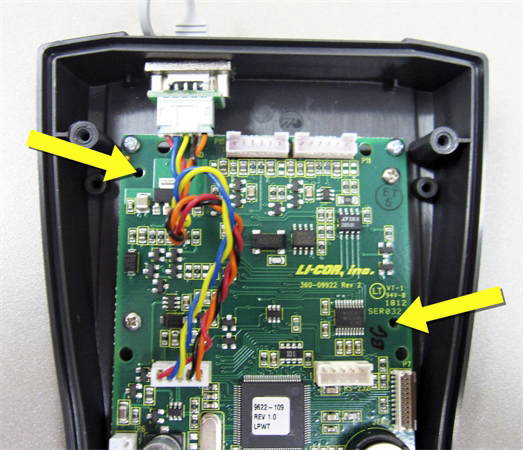
- Remove the upper-left and bottom-right screws from the display bezel and discard.
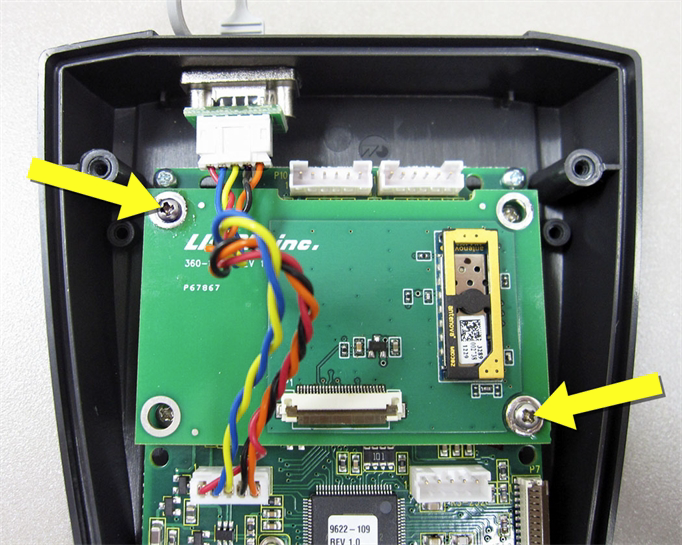
- Install the GPS board as shown below, using two 2-56 screws (provided).
- Install the flex cable as shown below. Open the retainer clip on connector P3 of the main PC board by pulling up on the edge of the brown strip. Carefully insert the printed end of the flex cable with the printed side up. Slide it under the two small white tabs on either side. Snap the retainer clip closed. Open the retainer clip on connector P1 of the GPS board. Insert the remaining end of the flex cable. Snap the retainer clip closed.

Reassembly
- Reconnect the power cable to the main PC board.
-
- Join the top and bottom halves of the control unit. Be sure the rubber seal is seated properly. Gently tighten all four case crews. Torque to 4 in.-lb. if using a torque screwdriver.
- Caution: Be careful not to over-tighten the screws as they may strip or break the plastic.
-
- Install four AA batteries and the battery cover. Be sure to observe proper polarity when installing batteries.
GPS installation is complete. For GPS use instructions, please refer to the LI-1500 Instruction Manual.