Installing the 600RH sensor kit
Printable PDF: Installing the 600RH sensor kit
(600_RH-Sensor-Installation-guide.pdf)
Download this content as a pdf that can be saved to your computer or printed.
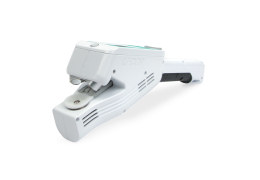
The 600RH Sensor Replacement Kit for the LI-600 Porometer/Fluorometer exchanges the current RH sensors with those in the kit.
| Description | Quantity | Part Number |
|---|---|---|
| M2 Phillips Panhead stainless steel screws | 3 | 150-14386 |
| Bottom Chamber Gasket | 1 | 6560-302 |
| Bottom Chamber Manifold Gasket | 1 | 6560-303 |
| RH Sensor PCA | 1 | 9960-300 |
Installing the RH sensors
The following tutorial describes the steps to take when removing the current RH sensors and installing the new RH sensors.
Caution: Do not touch the RH sensors. Do not use isopropyl alcohol (IPA) on the sensor board.
- Prepare the LI-600.
- Power off the instrument. Properly ground yourself to avoid electrostatic discharge that can damage the electronics. Use an anti-static wrist strap or electrostatic discharge grounding mat or occasionally touch bare metal that has a clear path to the ground, such as an unpainted computer case.
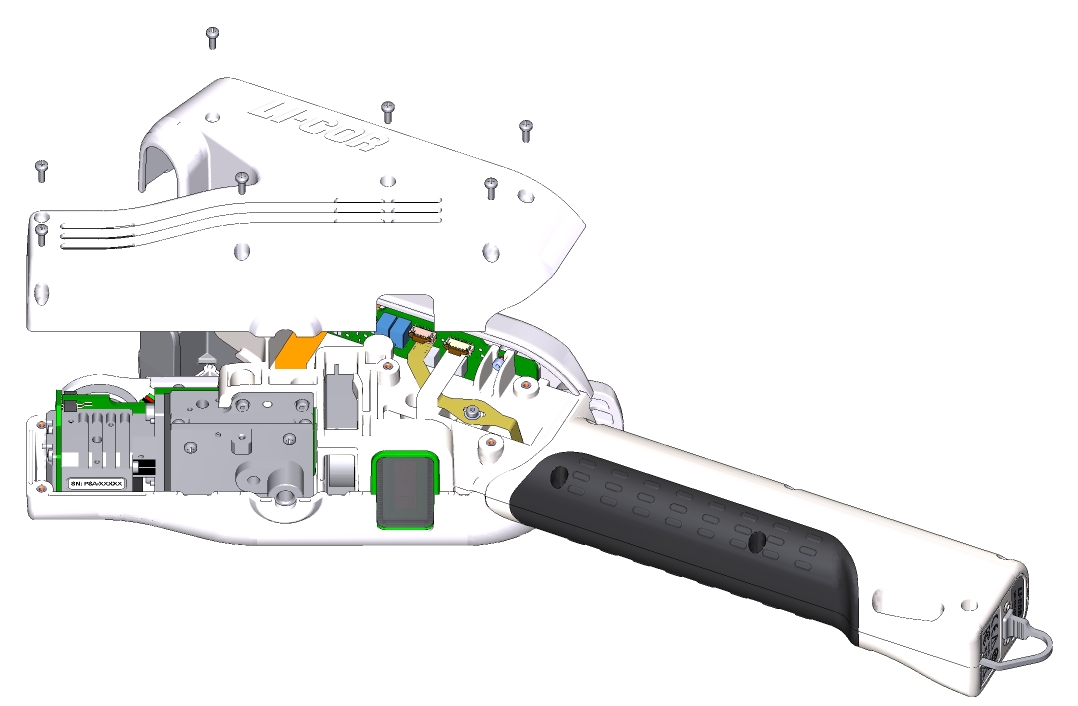
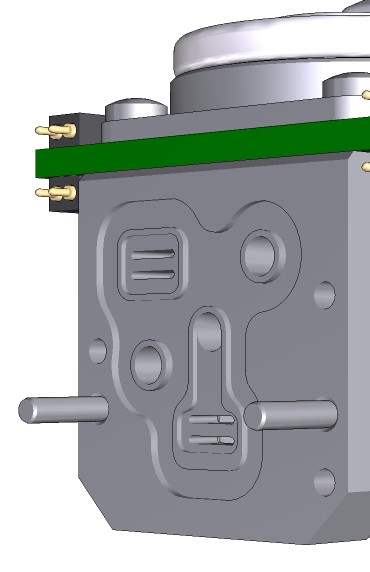
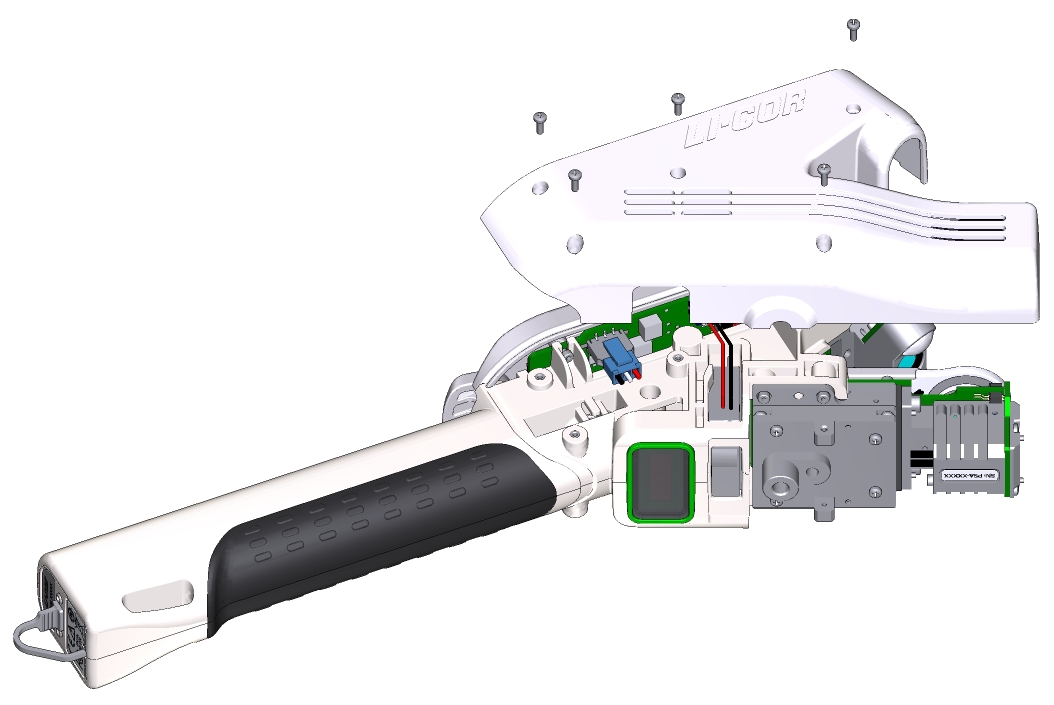
- Remove the shells.
- Remove the seven screws on the left then the five screws on the right of the instrument head. Set the shells and screws safely aside.
-
Clean the shell vents.
- Clean the shell vents using compressed air. Ensure that the workspace is clean to avoid dust or other contaminants from entering the flow path.
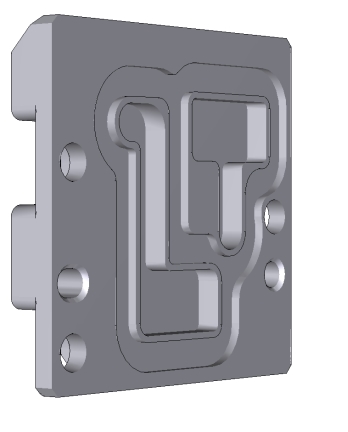
- Remove the manifold plate and Bottom Chamber Manifold Gasket.
- Using a Phillips screwdriver, remove the three screws on the manifold plate. Slide the manifold plate off the porometer block. Locate the Bottom Chamber Manifold Gasket, which may be attached to the manifold plate or RH sensor board, and remove it by hand or using plastic tweezers. Set all items safely aside.
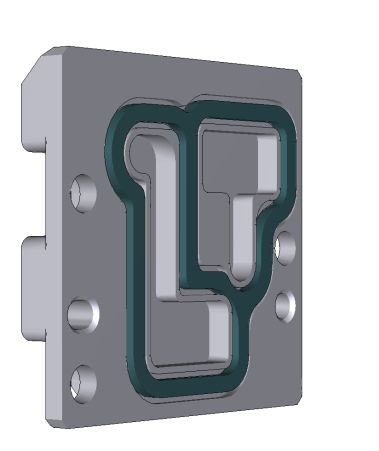
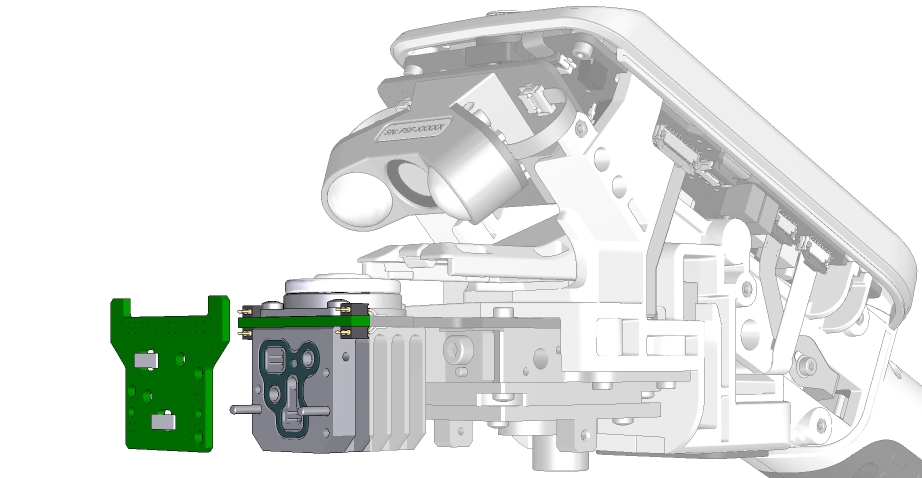
- Remove the current RH sensor board and Bottom Chamber Gasket.
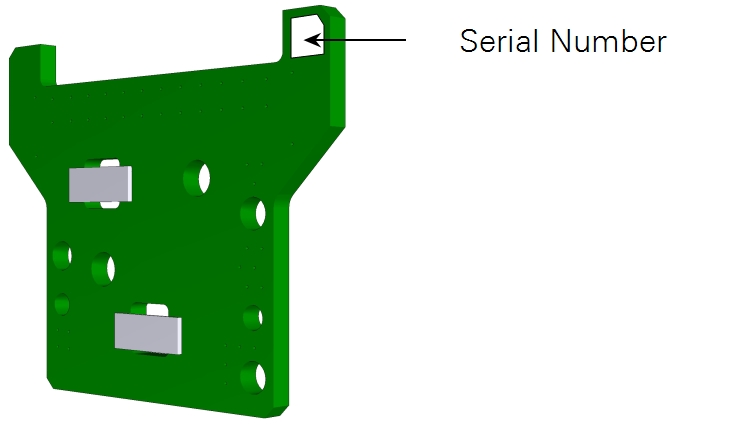
- Gently remove the current RH sensor board without touching the RH sensors. Record the serial number and set it safely aside for Step 10 and future reference. Locate the Bottom Chamber Gasket, which may be attached to the RH sensor board or porometer block, and remove it using plastic tweezers. Set all items safely aside.
- Clean the porometer block and manifold plate.
- Clean the porometer block and manifold plate using foam swabs and IPA. Do not use an excessive amount of IPA, and do not use on the RH sensor board.
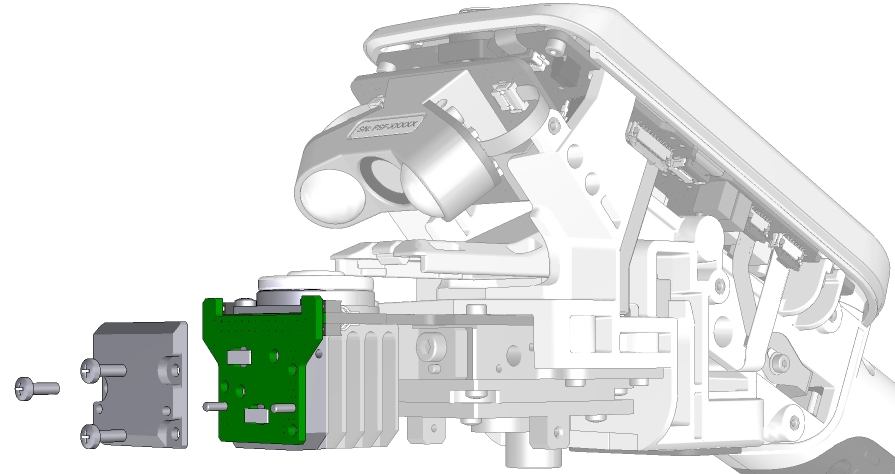
- Attach the new Bottom Chamber Gasket and new RH sensor board.
- Attach the new gasket to the porometer block by hand or using plastic tweezers. Gently attach the new RH sensor board. Ensure that the side with the serial number faces out.
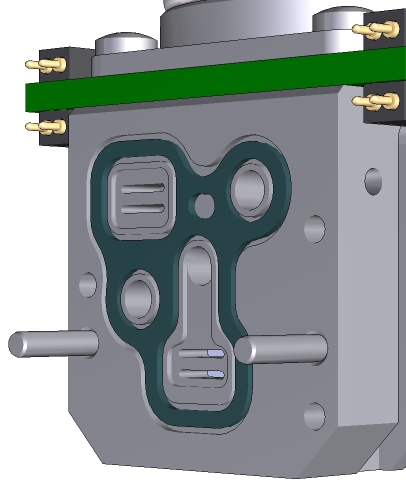
- Attach the new Bottom Chamber Manifold Gasket and manifold plate.
- Attach the new gasket to the manifold plate by hand or using plastic tweezers. Attach the manifold plate with the attached gasket to the RH sensor board using three new screws from the 600RH Sensor Replacement Kit. Do not overtorque the screws; torque recommendation is 45 oz-inch or 0.318 N-m.
- Replace the instrument head shells.
- Replace instrument head shells. Replace the screws using new screws from the LI-600 Accessories Kit as needed. Do not overtorque the screws; torque recommendation is 32 oz-inch or 0.226 N-m.
- Update the new RH sensor serial number and calibrate the RH sensor.
- Update the new RH sensor serial number in the computer software before use, as it does not automatically update (see the Maintenance section in the manual). Select "Automatic RH Sensor Calibration" to calibrate the RH sensor.
- Zero the RH sensors.
- Zero the RH sensors in the computer software before use via either the LI-600 pump or a user-supplied airstream (see the Maintenance section in the manual). Due to small differences in electronic offsets between instruments, re-zeroing the RH sensors is a necessary step following installation. Failure to re-zero can cause up to a 4% error in RH.