
Expanded Temperature Control Kit
Printable PDF: 6400-88 Expanded Temperature Control Kit installation instructions
Instructions for installing the 6400-88 Expanded Temperature Kit onto the LI-6400/XT sensor head to expand the range of temperature control.
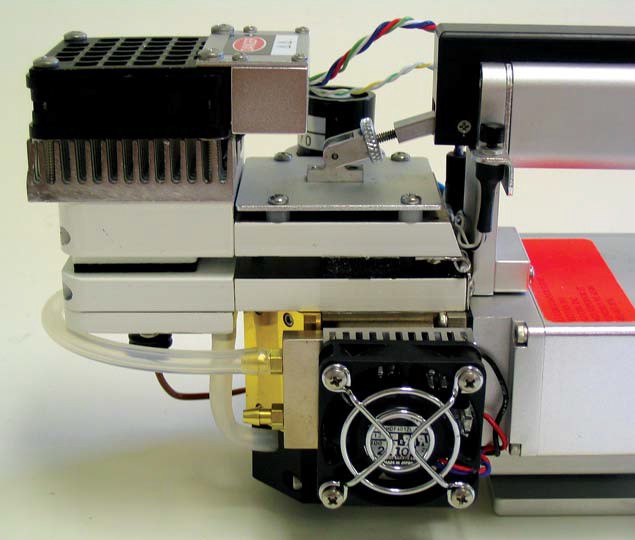
The 6400-88 Expanded Temperature Control Kit contains two water jackets through which water is circulated to aid in heat dispersion from the peltier coolers. With the kit installed, and no water flowing through the water jackets, the LI-6400 has the same temperature response as the normal chamber block (±6 °C from ambient). With water circulating through the water jackets, the chamber block temperature of the LI-6400 sensor head can be reduced to less than 9 °C. With a temperature controlled water bath, the block temperature can be reduced even further.
IMPORTANT: Take care not to lower the block temperature below the dewpoint, as water can condense and damage the gas analyzers in the LI-6400 sensor head. The Expanded Temperature Control Kit leaves the peltier coolers as the primary control mechanism for the LI-6400 sensor head.
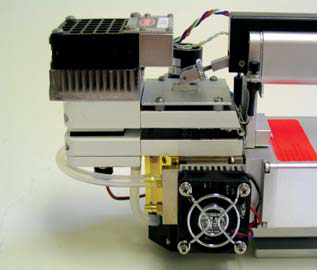
There are no programming changes required to use the kit. The water jackets’ sole function is to remove heat dissipated by the peltier coolers more efficiently than the fans alone, providing a wider temperature control range without changing the normal operation of the LI-6400. Once installed, the water jackets can be left on the sensor head permanently; there is no need to remove the water jackets once they are installed. The kit contains two nickel plated water jackets with attached hose barbs, as well as screws and thermal pads. One water jacket is fitted to each of the peltier cooling blocks on opposite sides of the LI-6400 sensor head.
Assembly Instructions
Tools required: Phillips head screwdriver; 5/64” hex key (included)
Time required: about 30-45 minutes
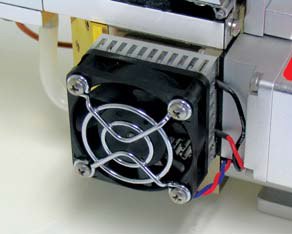
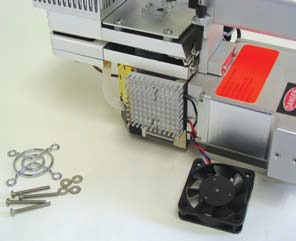
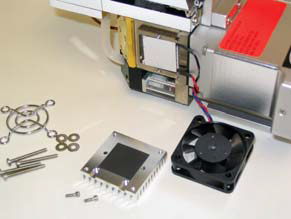
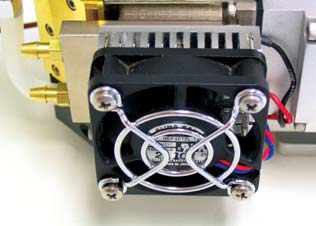
- Remove the 4 screws from the fan shroud on either cooling block assembly. Note that there are washers on the underside of the screws, behind the fan.
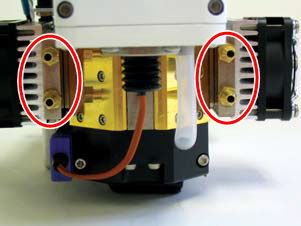
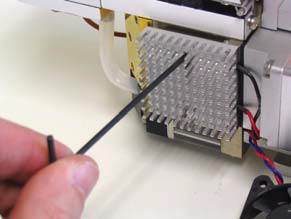
- Remove the 2 hex screws from the finned heatsink with the 5/64” hex key included. The 2 screws removed here are not re-used, and can be discarded.
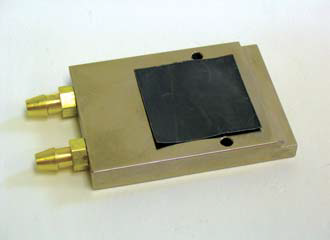
- Note that one side of the water jacket is notched to allow passage of the wiring connections. Place a thermal pad on the notched side of the water jacket. The thermal pads do not have any adhesive; they will, however, “stick” to the water jacket when pressed firmly into place, or by moistening slightly.
- IMPORTANT: Before starting Step 4, please note that the white ceramic peltier cooling block is fragile–overtightening or tightening the screws unevenly can crack the ceramic. Tighten the screws evenly (1/8 of a turn at a time), until just snug. Do not overtighten!
- Place the finned heat sink on top of the water jacket (the side opposite the notch), and use 2 of the included 1/2” hex screws to attach over the peltier cooler. Note that the finned heat sink is notched also, to allow passage of the wiring connections.
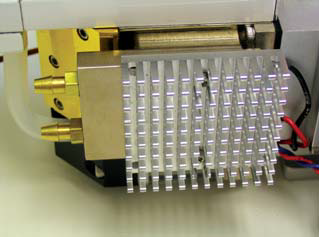
- Re-install the fan, fan shroud, and washers onto the heatsink in the same order as removed in Step 1.
- Repeat the above installation on the opposite side of the LI-6400 sensor head.
Using the Water Jacket Kit
Use 1/8” I.D. Bev-a-line tubing or similar (not supplied) to connect the two water jackets to a water source. The simplest method of use is to connect the two water jackets in series; use a short (about 6”) length of tubing to connect the two water jackets. Connect one of the remaining connectors to the water supply (tap, or water bath), and the other connector to a drain, or to the return side of the water bath. The water jackets do not require a very high flow rate of water to be effective. Note, too, that there is no directionality to the hose barbs; either barb can be connected to the supply.