Leaf Temperature Thermocouple
Thermocouple Maintenance
The thermocouple circuit should be zeroed periodically. The procedure is described in Zeroing the Leaf Temperature Thermocouple.
Thermocouple Replacement
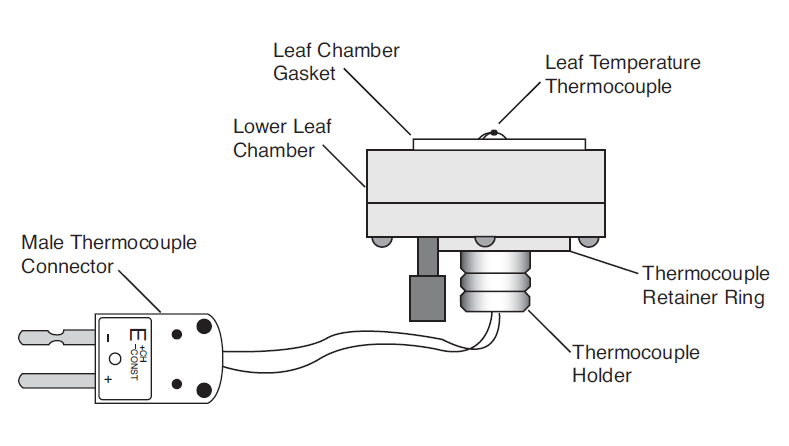
The leaf temperature thermocouple is mounted in a plastic holder that is inserted from below the bottom half of the leaf chamber (Figure 19‑22). The thermocouple is terminated with a male thermocouple connector. This entire assembly is replaced. If the thermocouple junction is broken, leaf temperature will read the same as block temperature1.
To replace the 6400-04 leaf temperature thermocouple:
- Unplug the connector
- Remove the male thermocouple connector by pulling straight out.
- Pull out the holder
- The holder can be removed by pulling straight down and out of the leaf chamber. You may have to twist it a bit, if it is tight. Do not pull on the thermocouple wires.
- Insert the new holder
- Moisten the thermocouple retainer O-ring slightly, or use a minuscule amount of silicon grease. This will make it easier to install the new thermocouple.
- Plug in the connector
- Connect the new assembly by re-inserting the male thermocouple connector, and carefully insert the plastic thermocouple holder up through the bottom of the leaf chamber. Do not pinch the thermocouple wires when inserting the holder.
- Position the holder
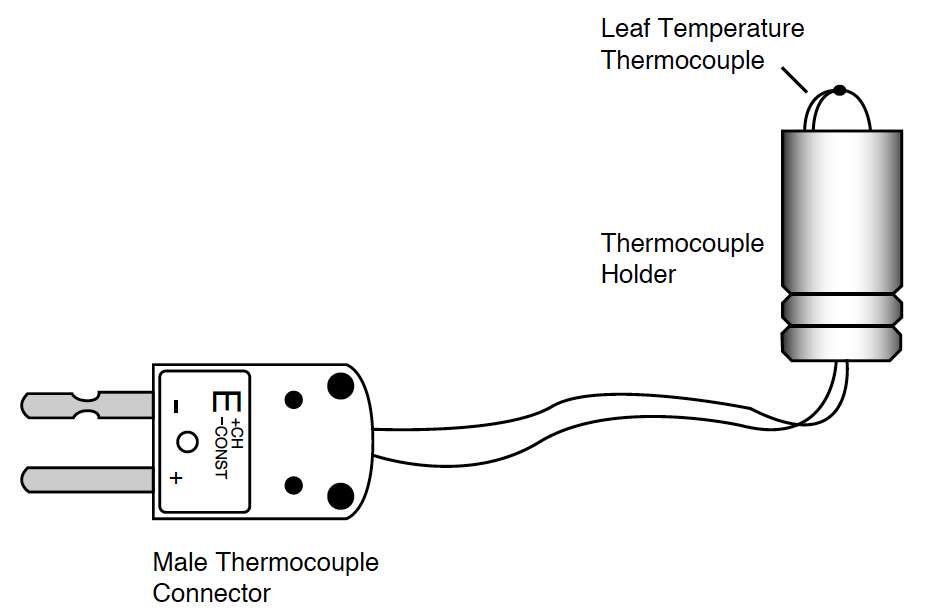
- Insert the holder until the thermocouple bead extends just above the lower foam gasket, when viewed from the side (Figure 19‑23). This will ensure that the leaf is in contact with the thermocouple when the chamber is closed.
If you are using an energy balance to compute leaf temperature, then position the thermocouple lower, so that it will not touch any leaf material.