
Installation Instructions for the LI-6400 Portable Photosynthesis System
Printable PDF: Air Passage Spacer
Instructions for the 9964-102 air passage spacer.
This spacer should only be installed once on each LI-6400. You may disregard these instructions if your LI-6400 already has an Air Passage Spacer installed. We are installing these spacers on all instruments returned to the factory for service or recalibration, and on all newly manufactured instruments from serial number PPS-1961 and above.
Background Information
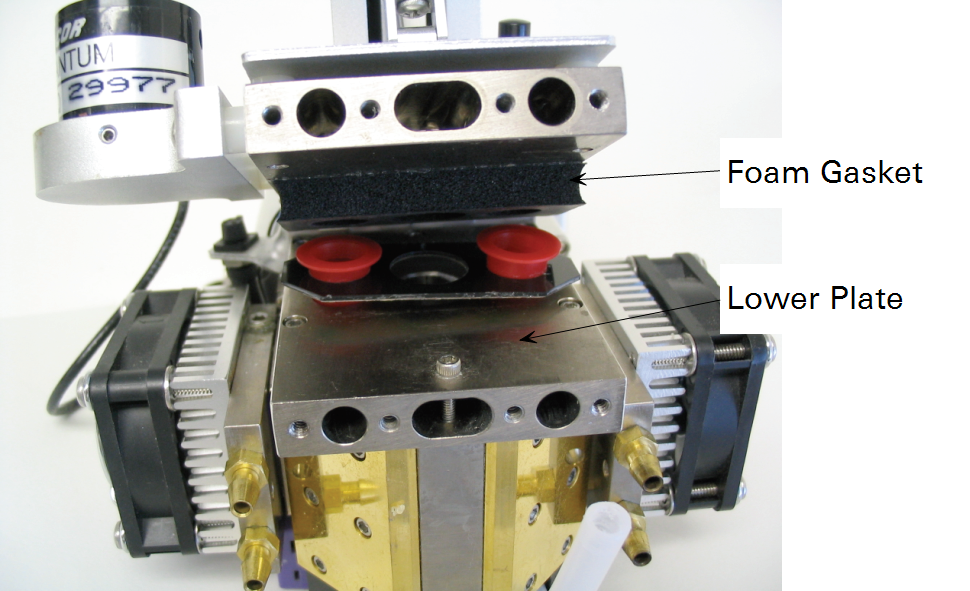
Due to a change in manufacturing process, our foam vender can no longer guarantee that the thickness of the rear gasket on the LI-6400 head will be able to meet the thickness tolerance required to insure a good seal. In order to make sure that all foam gaskets (i.e., those that run a little thin and those that run a little thick in the manufacturing process) provide a good, gas-tight fit, we have introduced the following spacer that is installed on the bottom of the plate that mates with the foam gasket.
This spacer will provide a good seal with all gaskets, whether they are on the thin side or thick side of the manufacturing tolerance. The spacer needs to be installed only once, however, one will be included in each kit of foam gaskets until we are relatively confident that all LI-6400 owners have received at least one of them.
This spacer should only be installed when you are also replacing the foam gasket. If you are not experiencing chamber leaks around the foam gasket currently, and it’s not yet time to replace it, wait until the next time you replace the foam before you install this spacer.
Remove the chamber top
You may find it convenient to remove the upper chamber to perform this installation. Follow the instructions for the particular chamber you have installed to remove the chamber top from the LI-6400 Head.
Prepare the spacer
The red cap plugs will be used as guides to align the holes in the spacer with the holes in the chamber. Orient the spacer with the black shiny side upward and the paper covering downward. Insert the two red cap plugs into the two outside holes of the shim from the plastic side (i.e., the side without the paper covering) of the shim. When you look at the spacer now you should see the shiny black side of the spacer and the open ends of the cap plugs.
![]()
Install the spacer
Make sure the area around the three holes of the bottom plate is clean and free of grease. Use alcohol to clean the surface if necessary. Carefully peel off the paper layer covering the adhesive on the spacer. Align the cap plugs into the two outside holes of the bottom plate of the LI-6400 head. (This is the surface directly beneath the foam gasket).
Carefully slide the spacer down the red plugs until it touches the metal surface of the head. Use your fingernails or a small screwdriver to help move the spacer down. Remove the cap plugs and discard. Press the spacer down firmly with your fingers to insure the adhesive has contacted the surface. Take care in the alignment of the holes during this step. Once the adhesive mates with the metal it will be difficult to remove the spacer.
Put it all back together
Reinstall the chamber if you have removed it. Test for leaks.