Printable PDF: Replacing the LI-6400/XT Battery Connector
Instructions for replacing the battery connector.
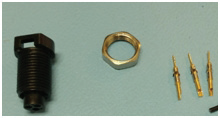
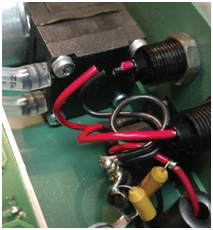
This Tech Tip describes the procedure to replace the battery connector on the LI-6400/XT console. Order part #318-02030, which includes the three pieces shown below:
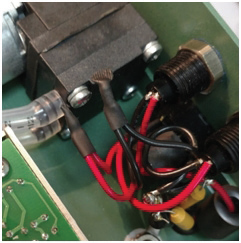
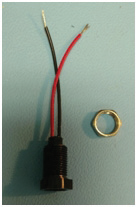
Please note that we can help solder red and black wires to the pins and install the pins onto the black connector (as shown below), before we send them to you. This may save you some frustration – just give us a call and let us know that your order is intended for use with the LI-6400/XT console.
- Remove the console cover. Cut the red and black wires as close as possible to the broken connector, on the interior side of the console.
-
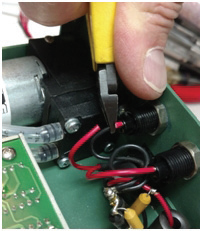
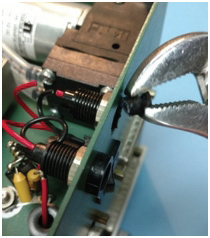
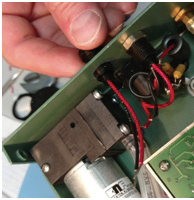
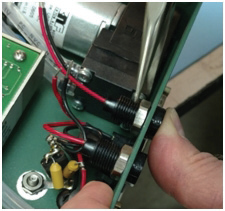
- Break and remove the outer portion of the old connector as shown below, or unscrew the nut to remove the old connector.
-
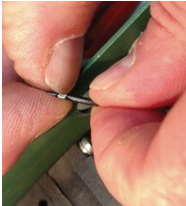
- Strip the red and black wires (if don’t have a stripper, you can use a knife/blade to cut around the insulation and remove using your fingers).
-
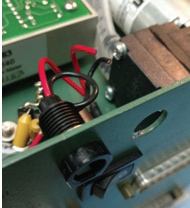
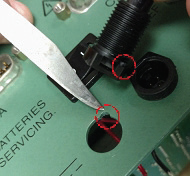
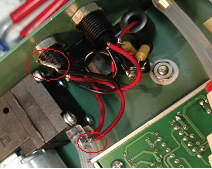
- Insert the new connector into the hole. Make sure the small raised ‘bump’ on the black connector fits into the small notch of the hole (highlighted below in the red circles) so that the connector will not rotate in the hole.
-
- Install the nut, just finger tight. If you use a pair of pliers, stop turning once the nut touches the console, or you may damage the connector again.
-
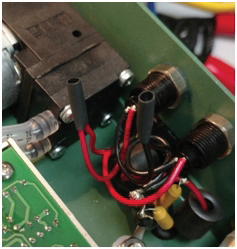
- Twist the ends of the two red wires together, and twist the ends of the two black wires together. Solder the two twisted pairs.
-
- Install shrink tubing over the soldered junctions and heat.
-
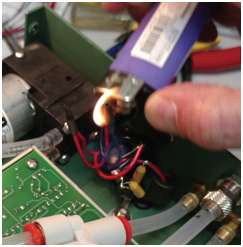
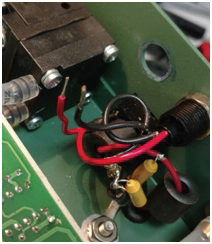
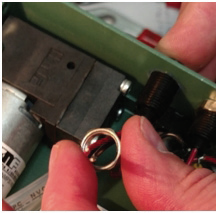
- Use pliers or your fingers to press the end of the shrink tubing so that it is sealed. The final assembly will appear as shown below. You can then test the connector and replace the console cover.
-