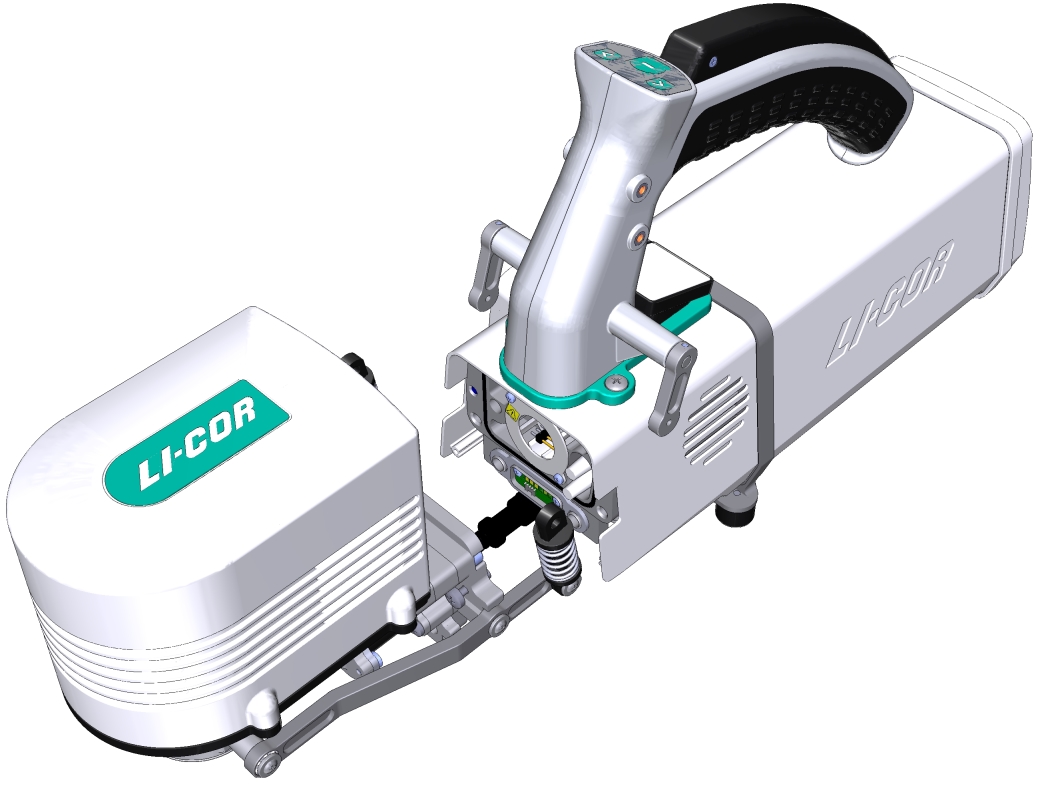
Switching from one chamber to another is straightforward; every chamber connects to the head in the same way. Chambers store information about themselves, so when connected, the head recognizes the chamber and automatically sets the volume and any required calibration constants.
Detach the chamber from the head
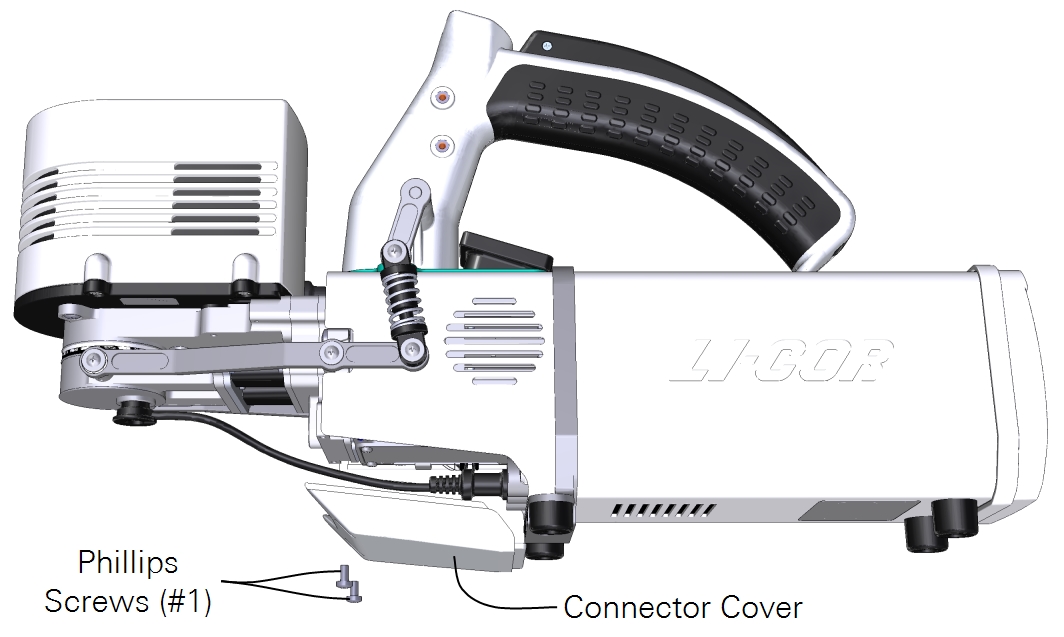
Six screws will be removed to detach a chamber — two on the connector cover, two on the latch mechanism, and two that hold the chamber to the head. This requires Phillips PH1 and PH2 screwdrivers, which are in the spares kit. Suitable screw drivers are available from most department stores.
Caution: Power off the instrument before following these procedures.
- Using the PH1 screwdriver, remove the two cover screws and the connector cover from the bottom of the head.
- Unplug the cables from the cable bulkhead (i.e., LI-190R, leaf temperature thermocouple, and light source).
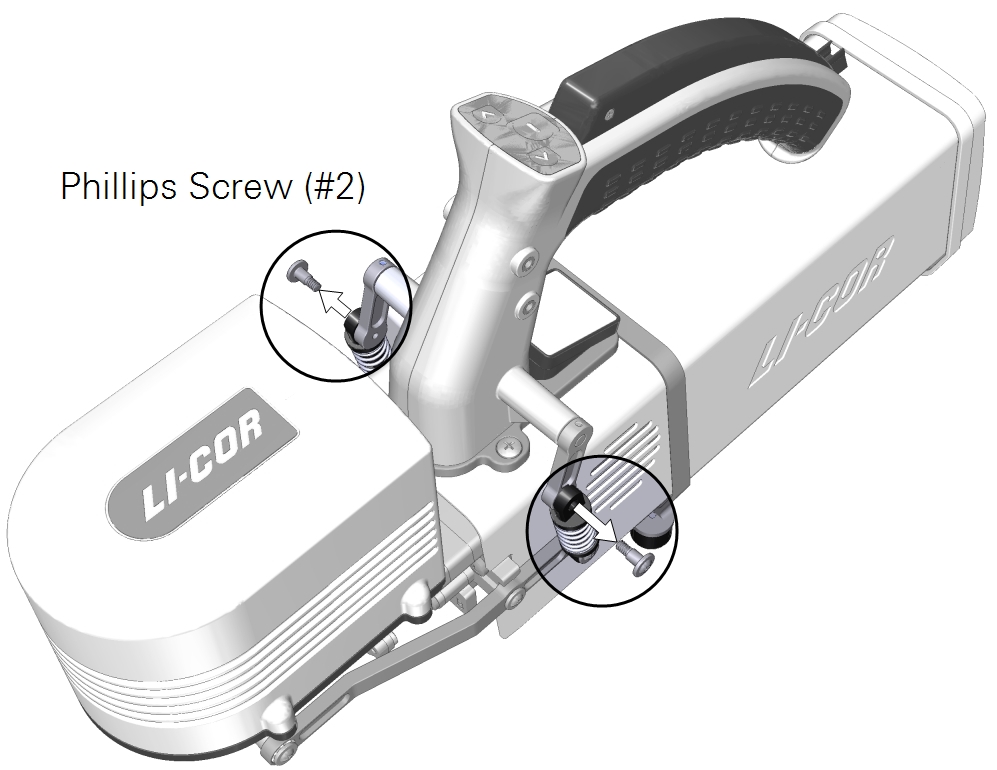
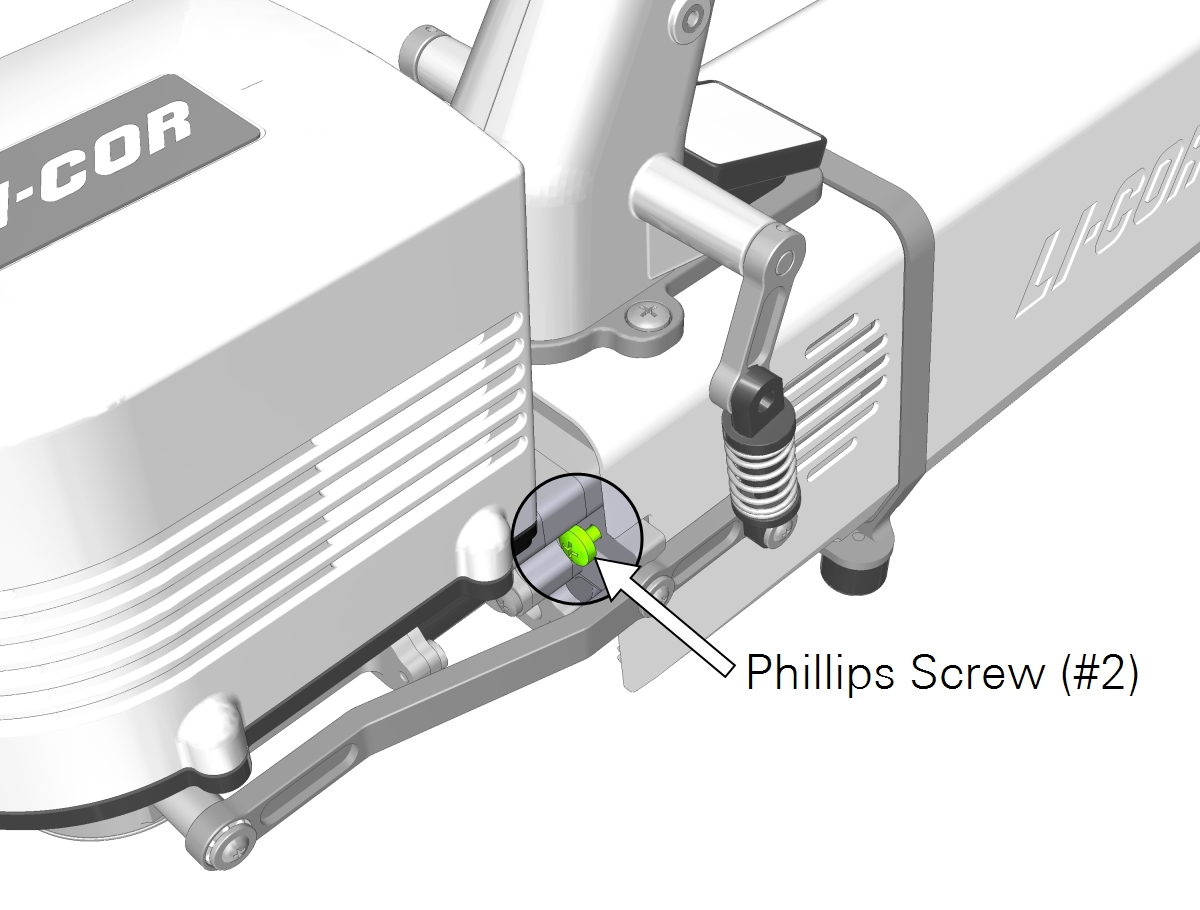
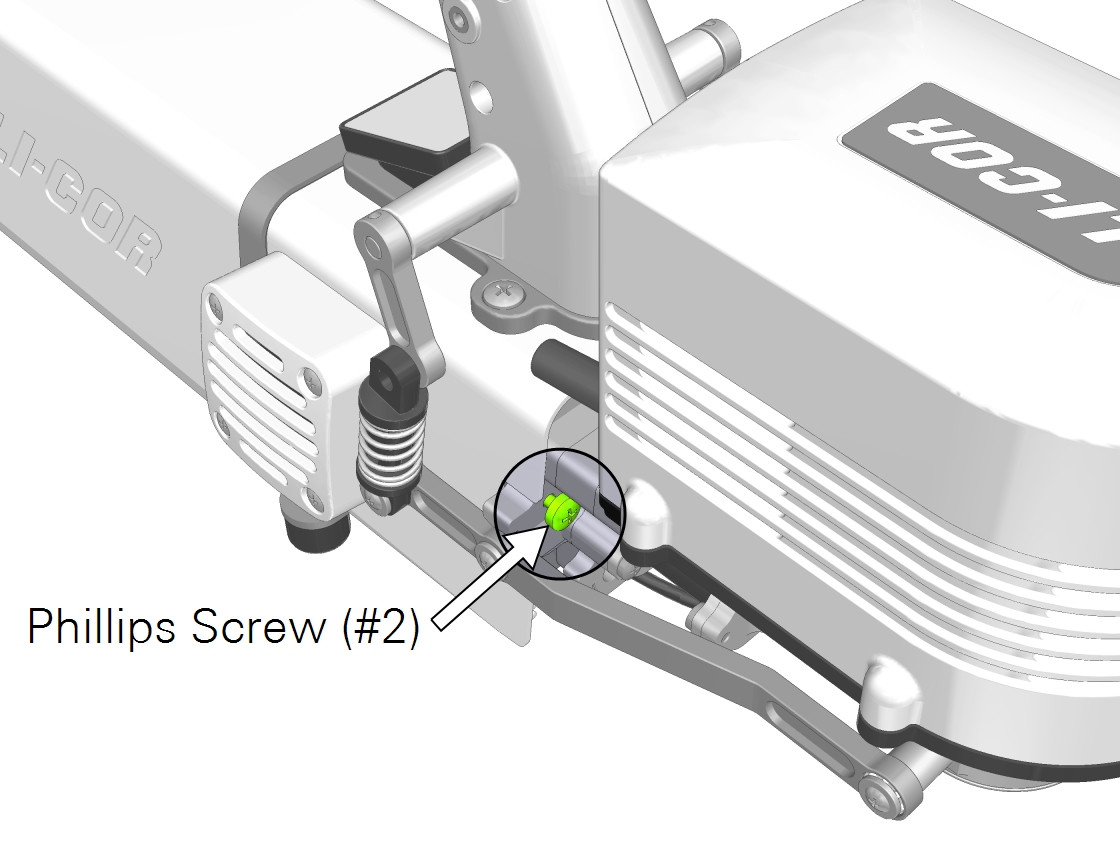
- Position the chamber latch in the parked position and remove the two latch screws with the PH2 screwdriver.
- Using a PH2 Phillips screwdriver, loosen both of the captive chamber screws until the chamber is free of the head.
- Separate the chamber from the head.
Warning: Do not attempt to operate the mixing fan without a chamber in place.
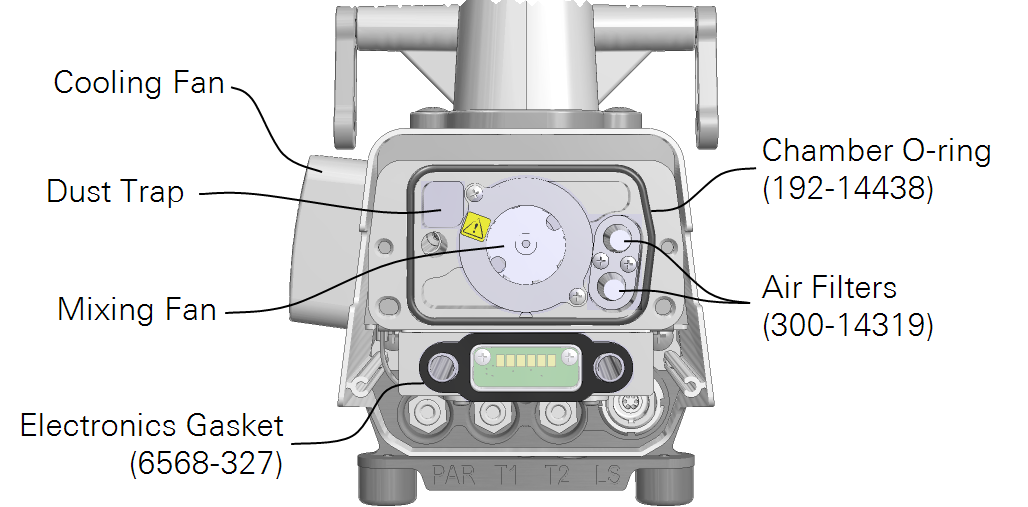
While the chamber is removed from the head, inspect the Air Filters and Dust Trap. Clear any dust or debris before attaching a chamber.