Mylar Insulator Kit
Printable PDF: Mylar Insulator Kit
Instructions for installing the mylar kit.
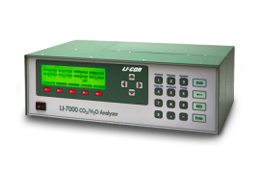
Some users of the LI-7000 CO2/H2O Analyzer have experienced intermittent keypad display problems (e.g. flashing, no numbers displayed, etc.), which have been traced to a short between two halves of a ribbon cable that connects to the keypad display. This problem may be more pronounced in very humid environments, where moisture between the ribbon cable can cause an electrical short. LI-COR can provide the 7000-904 Mylar Insulator Kit, which contains a small piece of mylar material (p/n 6570-044) that can be easily inserted between the two halves of the ribbon cable to correct the problem. The installation requires only a Philips head screwdriver, and takes about 15-20 minutes to complete.
Follow these steps to install the mylar insulator on the LI-7000 keypad:
- Power the LI-7000 off, and remove the power cable.
- Remove the Philips head screws on the top, left, and right sides of the instrument case. It is not necessary to remove the screws from the access panel. There are 8 screws on the instrument top panel, 5 on the left side panel, and 3 on the instrument right panel. Slide the instrument cover off toward the front of the instrument.
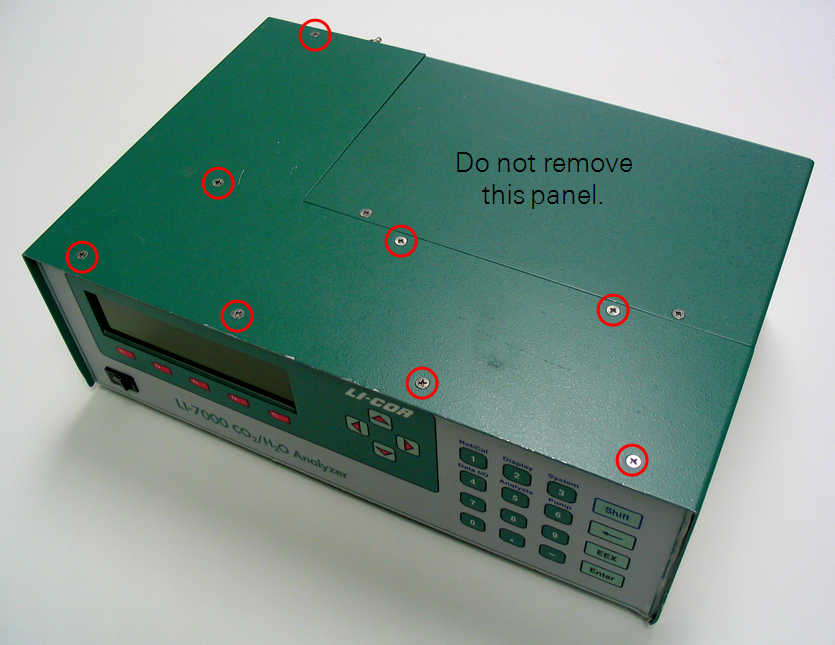
- Turn the instrument over and remove the 4 screws that secure the instrument front panel and keypad.

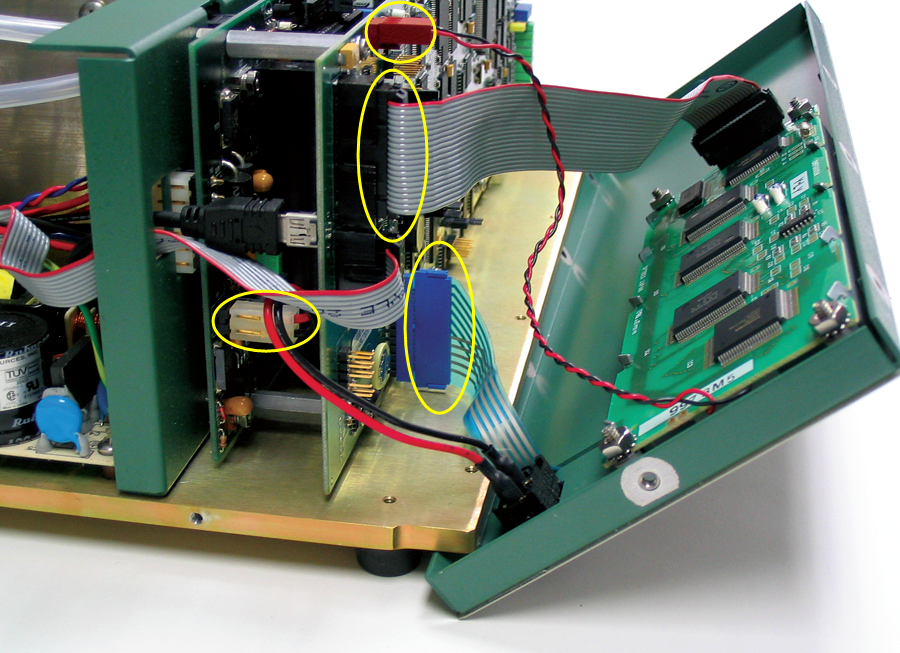
- Pull straight out on the four connectors; the front panel assembly can now be removed.
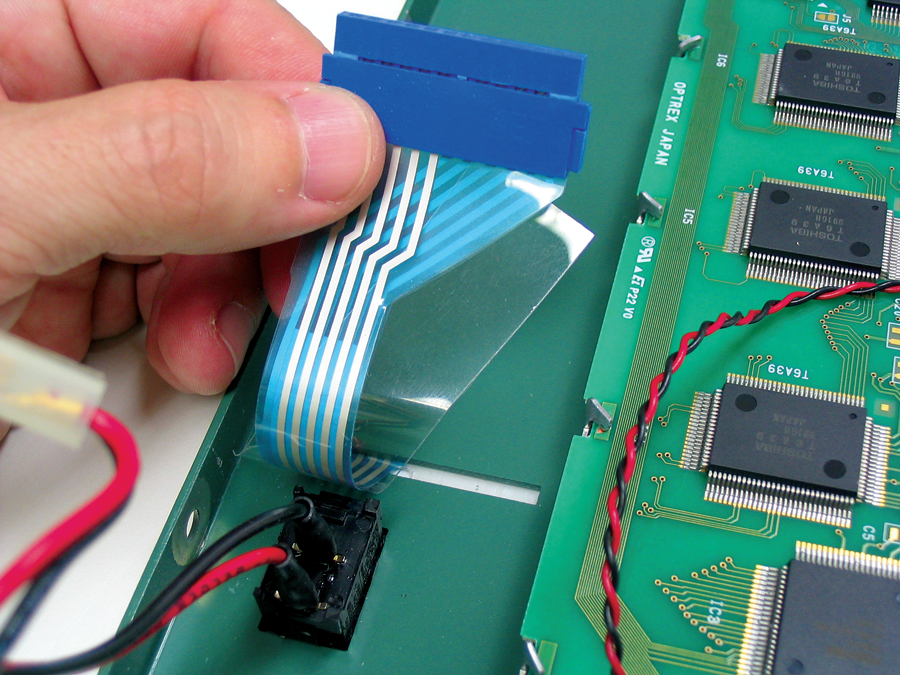
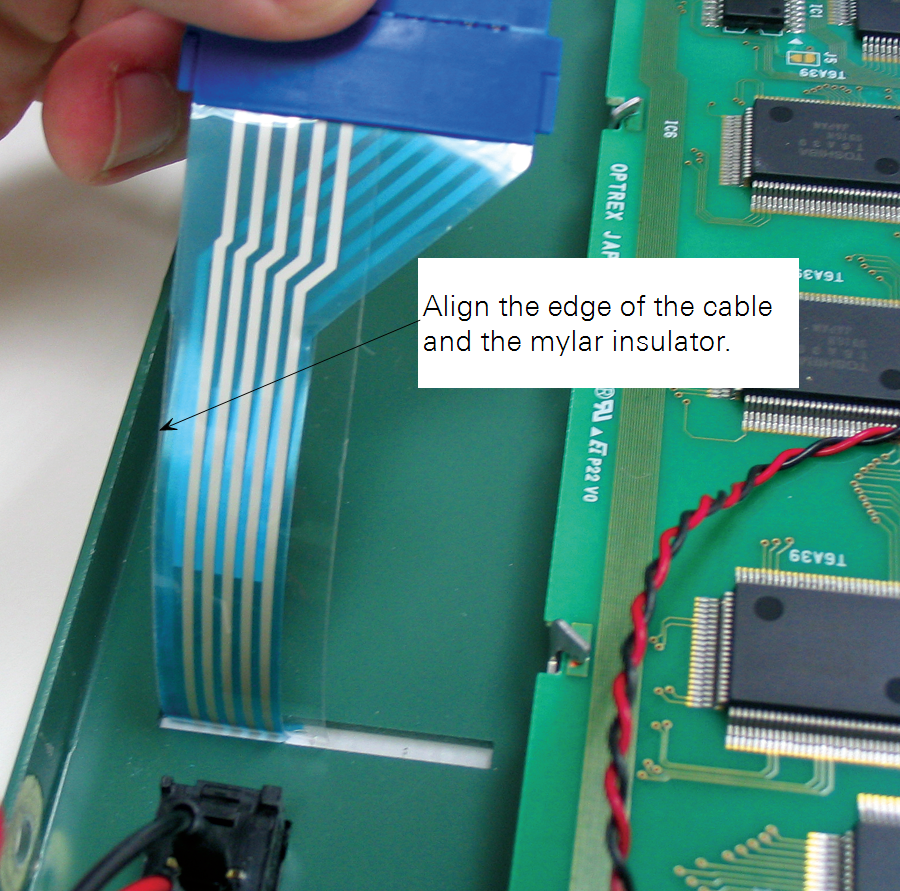
- Insert the mylar insulator between the two halves of the ribbon cable. Insert until the insulator is flush with the straight edge of the ribbon cable.
- Reattach the four cable connectors, and then reassemble the instrument front panel and instrument case.