Managing profiles and organizations
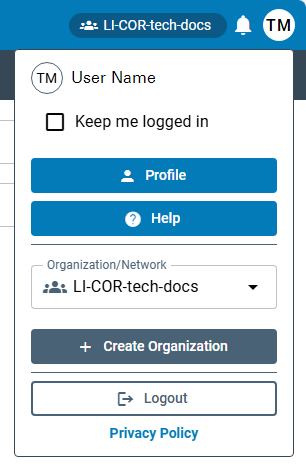
The Profile menu presents some options:
-
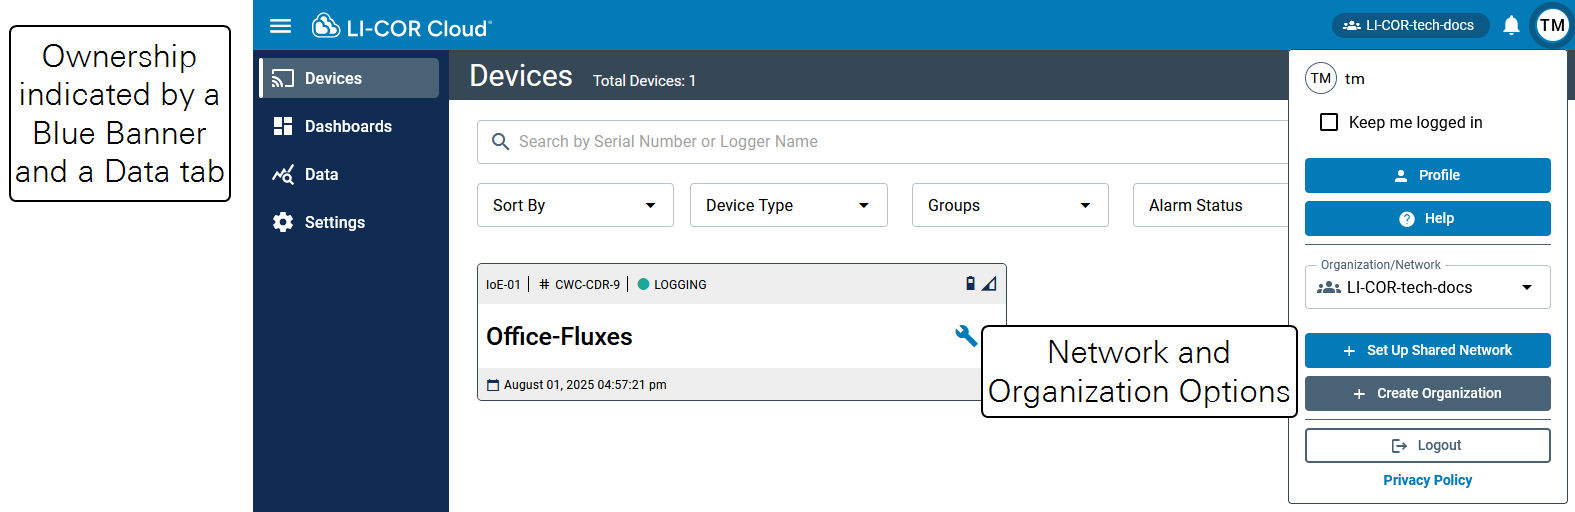
Select Keep me logged in if you don't want to have to log in every time you open LI-COR Cloud. By default, you are logged in for 24 hours. When you select Keep me logged in, you extend the log in time.
-
Click Profile to view or edit your profile.
-
Click Help to access the documentation.
-
Select a different Organization/Network from the menu to change the organization that is loaded. This is available only if you belong to more than one organization.
-
Click Logout to log out of LI-COR Cloud.
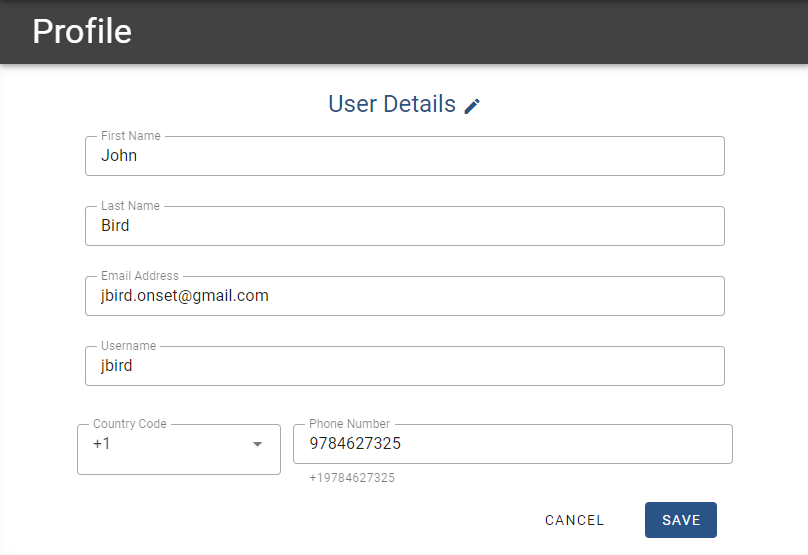
My account profile
Click Profile to view basic information about the account. You can edit any of the fields except for your Username. You can edit the Email Address, but email addresses must be unique within LI-COR Cloud. Click Save to apply the changes.
See Users to learn about other user accounts. See User roles to learn about the different LI-COR Cloud roles.
Resetting your password
If you need to reset your password, use the Forgot Password link on the Login page.
Account owners can create Shared Networks, which are a virtual collection of devices and users spanning multiple organizations. This can facilitate research and collaboration across institutions, while keeping full permissions available to a more limited number of account holders. With Shared Networks, organizations remain at the top of the hierarchy, retaining control over the devices. Shared Networks can include devices from multiple organizations, so data is visible to a group that is part of a different organization.
Creating a shared network or organization
-
Under the profile menu, click Create Organization.
-
Enter a name for the organization or network.
Using a clear, descriptive name so collaborators can easily identify the network.
-
Invite or add members
You can invite collaborators immediately or do it later.
-
Enter email addresses to invite or add members, and assign roles.
-
Account Admins can add and remove devices and users.
-
Device Admins can add or remove devices.
-
Group Members have read-only or limited permissions.
-
-
Click Create.
The user who creates the network is automatically assigned as a Shared Network Admin.
Once the network is created, it appears under the Organization/Network menu. You can now add devices (see LI-COR) and manage membership (see LI-COR) at any time.
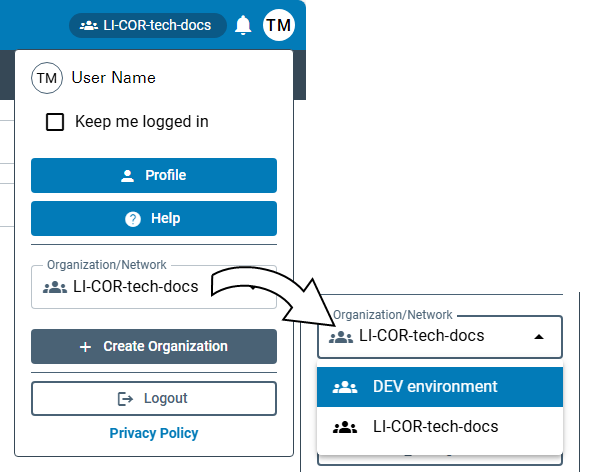
Switching organizations or networks
Organizations and Networks are selected under the profile menu. To switch, simply select a different network from the menu.
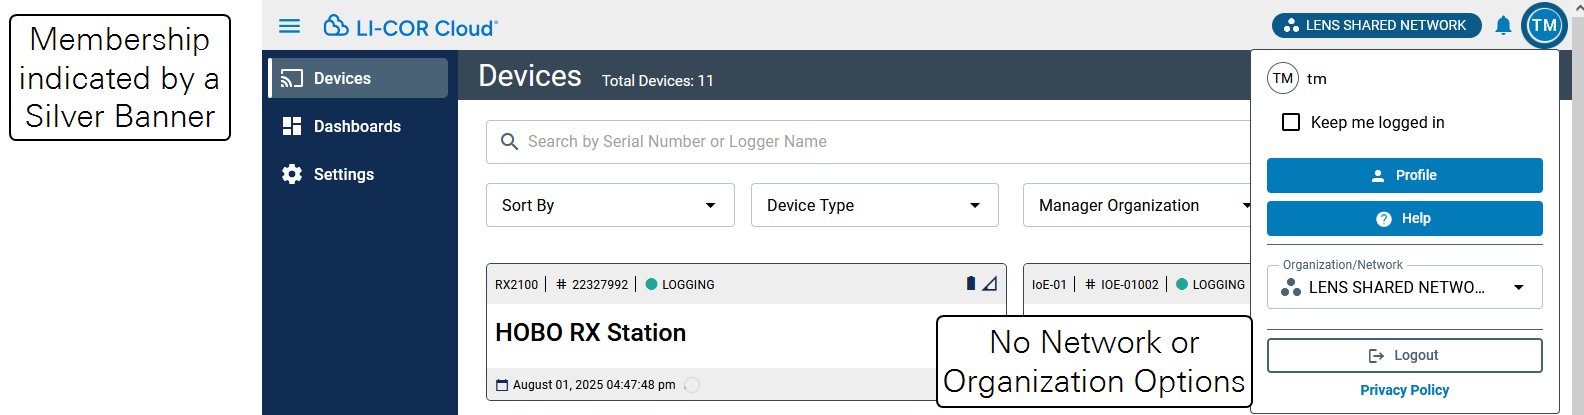
Membership and ownership
The interface provides some clues about your level of access. A blue banner indicates account ownership, whereas a silver one indicates account access.
Owner options
Owners have all options for managing a Shared Network or Organization.
Member options
Members have a constrained set of options.