
Small plant chamber
Printable PDF: Small plant chamber
(6800_InstallGuide_Small_Plant_Chamber_16476.pdf)
Download this content as a pdf that can be saved to your computer or printed.
See Removing a chamber to detach a currently-installed chamber.
Installing the chamber
- Hold the chamber in position and tighten the two chamber mounting screws (146-15344).
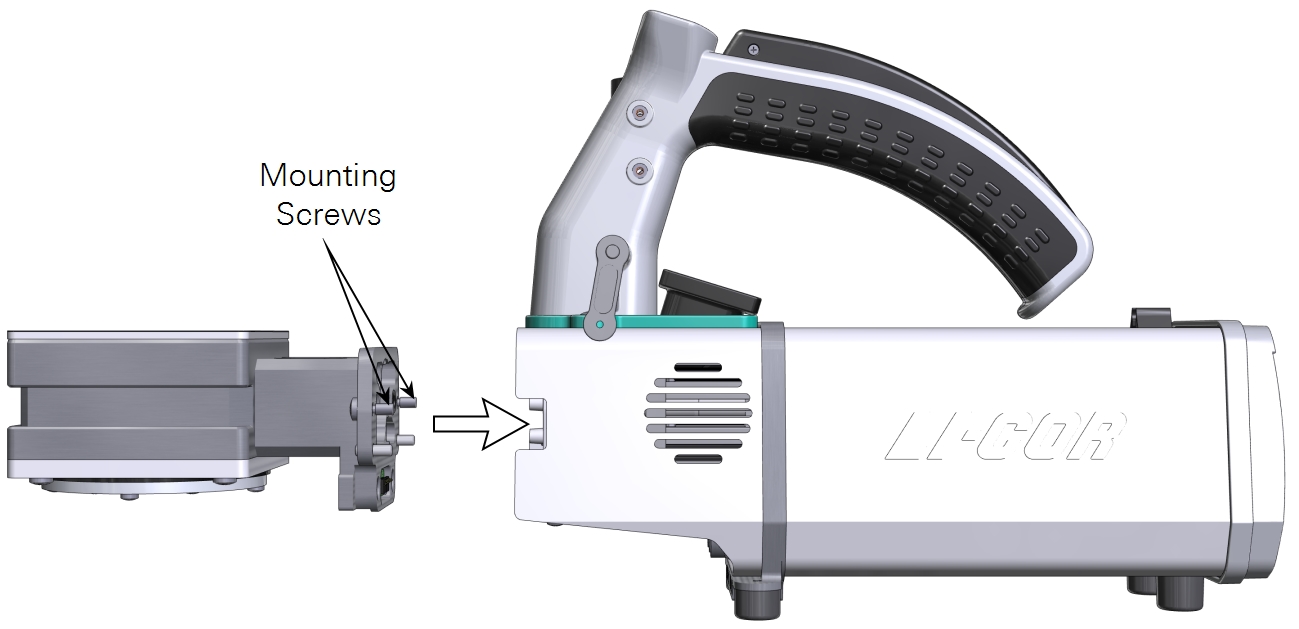
- Caution: You must use the captive chamber screws (part number 146‑15344) to install the chamber. Other screws will cause leaks and problems with the mixing fan, even if they seem to fit.
- Make them snug—turn each screw until it stops, and then just a little bit more (up to ¼ turn). If you have a torque screwdriver, tighten them to 2.5 N·m (22 inch lbs).
- If you unplugged the light sensor cable, install the light sensor connector to the connection labeled PAR.
- Install the connector cover.
Details on the attached chamber are presented in Chamber info.
Loading a plant in the chamber
Prior to measuring a plant, install an empty Cone-tainer or flower pot in the chamber and run the leak test to ensure everything is working properly.
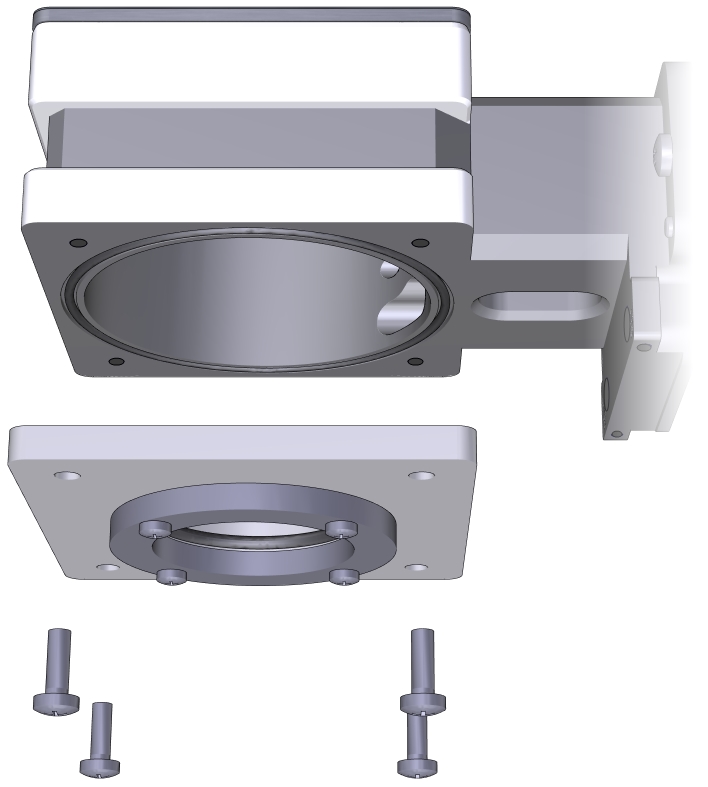
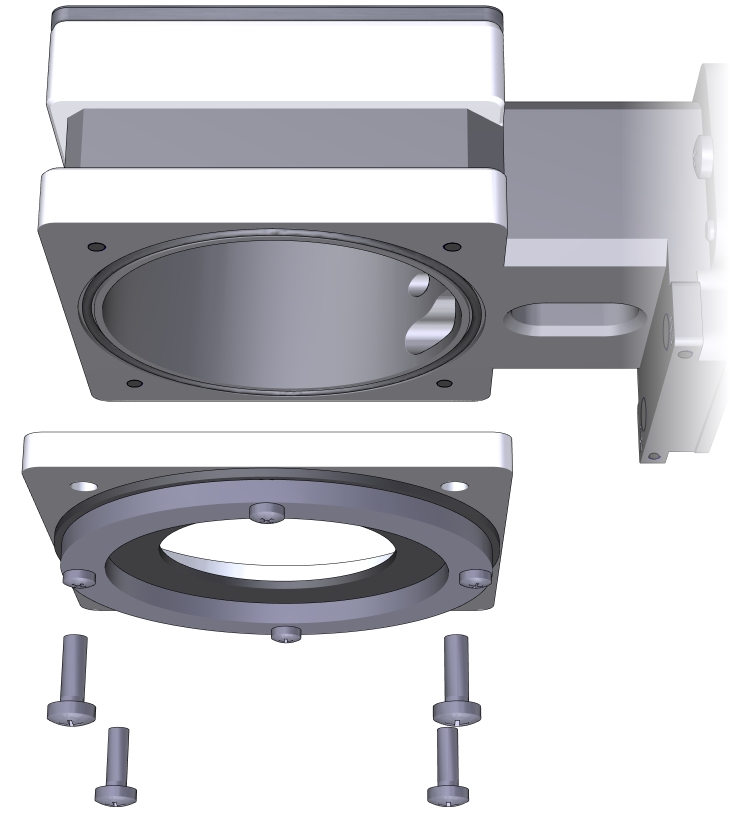
- Install the chamber bottom that is suitable for your pots—either use the bottom with a large opening for the 65 mm pots, or the bottom with a small opening for the Cone-tainers.
- Remove the chamber top cover and insert an empty Cone-tainer or flower pot into the chamber base. Press gently to compress the surrounding O-ring slightly around the Cone-tainer or flower pot.
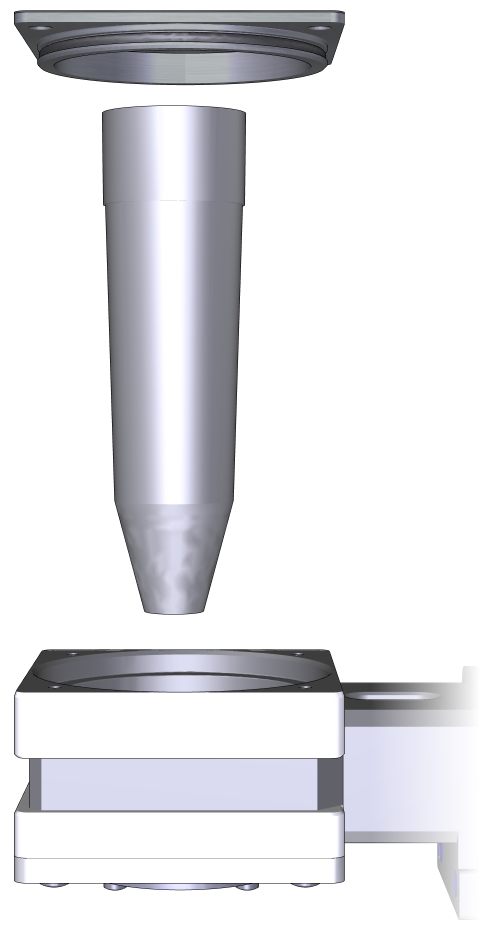
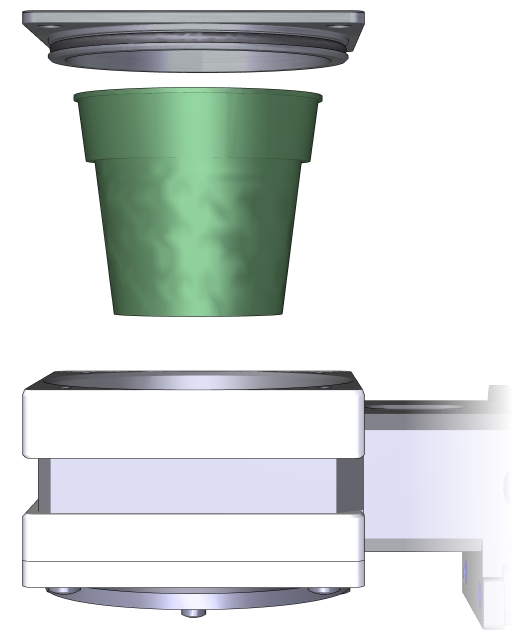
- Press the top cover onto the chamber.
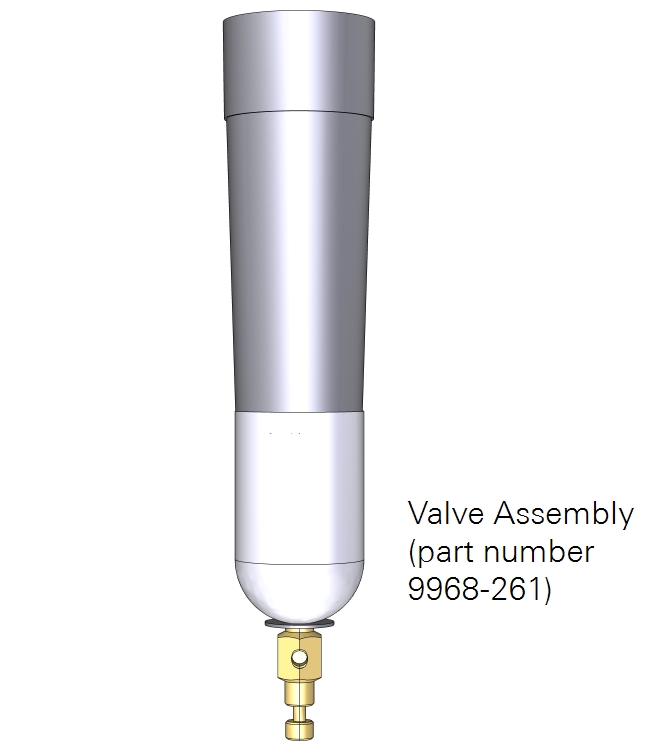
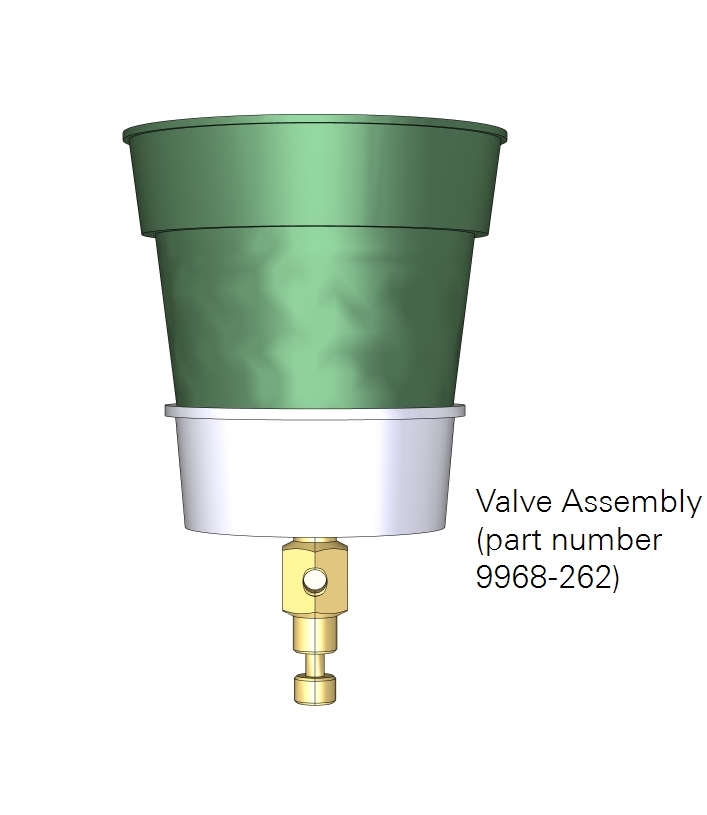
- Install the valve assembly on the bottom of the Cone-tainer or flower pot. Press it onto the Cone-tainer or pot until it is firmly attached.
- Power on the LI-6800, if it is not already on, and verify that the instrument recognizes the 6800-17 chamber under Start Up > Configuration > Chamber Setup.
- Run the tests under Start Up > System Tests.
Making a basic measurement
You'll need to grow plants in either the Cone-tainers or the 65 mm pots.
Note: Although you can acquire Cone-tainers and 65 mm pots from greenhouse suppliers, we have found that many commercial flower pots do not seal in this chamber. Therefore we recommend the Cone-tainers and 65 mm pots that we provide because they have been tested in this chamber and are known to work.
You are nearly ready to measure gas exchange. Below we offer some basic settings that will work for a typical measurement.
- Under Start Up > Configuration, choose whether to compute Area-based fluxes or Mass-based fluxes.
- Set the Environment controls:
-
- Flow: Set Flow: On; Pump speed: Auto; Flow rate: 800 µmol s-1; Press Valve: 0.2 kPa
- H2O: Set H2O: On; RH_air: 50%
- CO2: Set CO2 injector: On; Soda Lime: Scrub Auto; Tap CO2_r and enter a setpoint of 410 µmol mol‑1
- Fan: Set Mixing fan: On; Fan Speed: 10,000 rpm
- Temperatures: Check the temperatures to see their current values
- Load the chamber with a plant, as described previously, only this time use a pot with a plant rather than an empty pot.
- Install the Valve Assembly on the bottom of the pot.
- Adjust the small valve on the bottom of the Valve Assembly until the leak rate, under Environment > Flow, is less than 20%.
- Set the Constants.
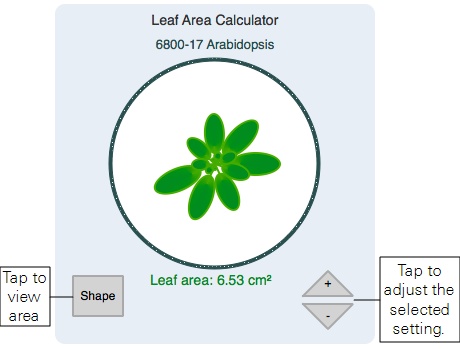
- For area-based fluxes, set the leaf area under Constants > Gas Exchange.
-
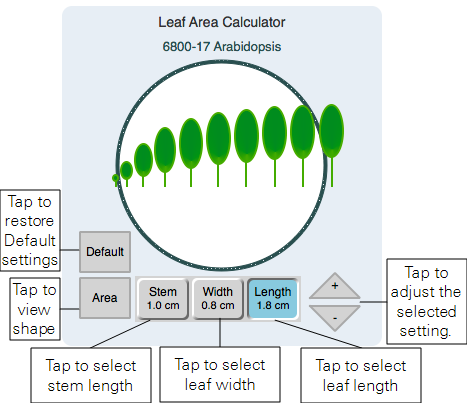
- The Leaf Area Calculator uses a simple growth model, using three logistic curves to determine stem length, leaf width, and leaf size as a function of time. Nodes 150 degrees from each other sprout every n time units. In Area mode, the adjust buttons add or decrement the age by 1 time unit. In Shape mode, you can adjust the asymptotic size of the selected attribute, stem length, leaf width, or leaf length, allowing a range of Arabidopsis varieties to be simulated.
- Choose between Shape or Area by tapping the corresponding button.
- Under Constants > Leaf Temperature, be sure that the instrument uses Energy Balance, unless you are measuring temperature another way.
- Configure Logging options.
- Configure the Match Options as desired. If you are not using the Leaf Area Calculator, you can determine the leaf area any number of other ways and enter the area manually (e.g., take a photo and use ImageJ to determine area). If you enter the area this way, check Prompt on (manual) log, which will open a prompt when you press the Log button, where you can enter the constants, including weight or area.
- Open a log file.
- Tap the Log button to record a measurement.
Caution: Do not leave a plant sample enclosed in the chamber with the flow set to off. Doing so can let condensation form in the chamber and gas analyzers, which could damage the LI-6800.