
Columns should require little maintenance besides topics covered here and in Chamber leak warning message.
Each column has two filters — one on the air-in side, and another on the air-out side. The filters may become dirty or clogged, in which case you will need to clean or replace them. Extra filters are in the spares kit. If you suspect that a filter is clogged, inspect the filter by comparing it with a new filter from the accessories kit. If you can see fouling or debris in the filter, it may need to be replaced. To replace a filter:
- Remove the old filter and seal.
- It will be held firmly, but it will come out if you work at it. Pry it out with your fingers or a needle-nose pliers. Pliers will probably crush the old filter, so only use pliers if you intend to dispose of the filter. The filter and seal come out as a unit.
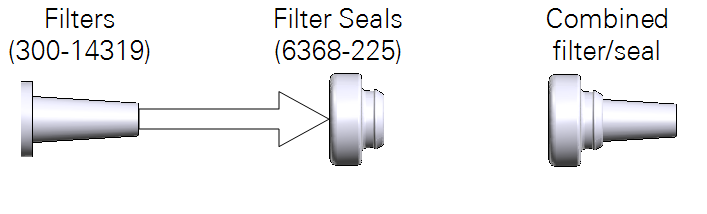
- Assemble a new filter.
- Locate a filter (part number 300-14319) and a rubber seal (part number 6368-225) in the accessories kit. Insert the filter into the rubber seal. One side of the seal fits around the filter.
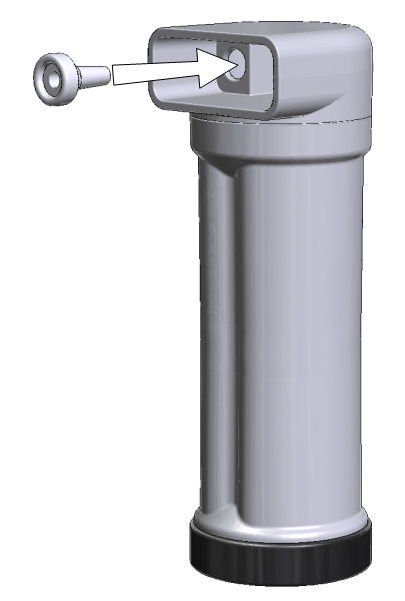
- Install the filter in the column.
- Press the combined filter and seal into the housing in the column. Reinstall the column on the console. Perform the leak test to verify that everything is working as expected.